How to Stain, Seal and Finish Butcher Block Countertops
Learn how to stain and finish butcher block countertops while keeping their natural wood color.
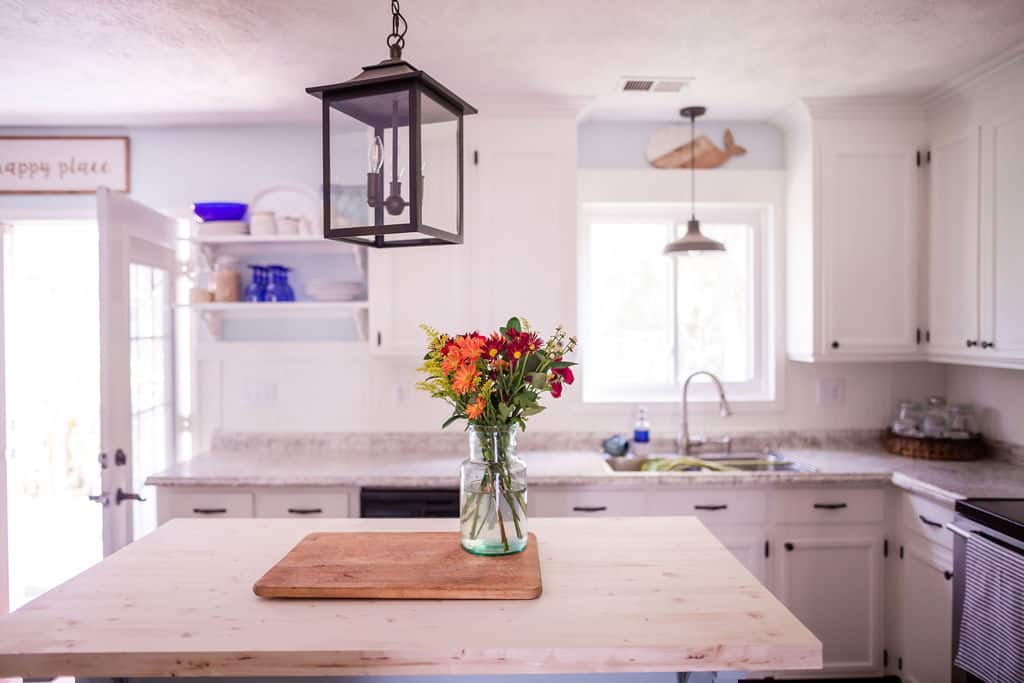
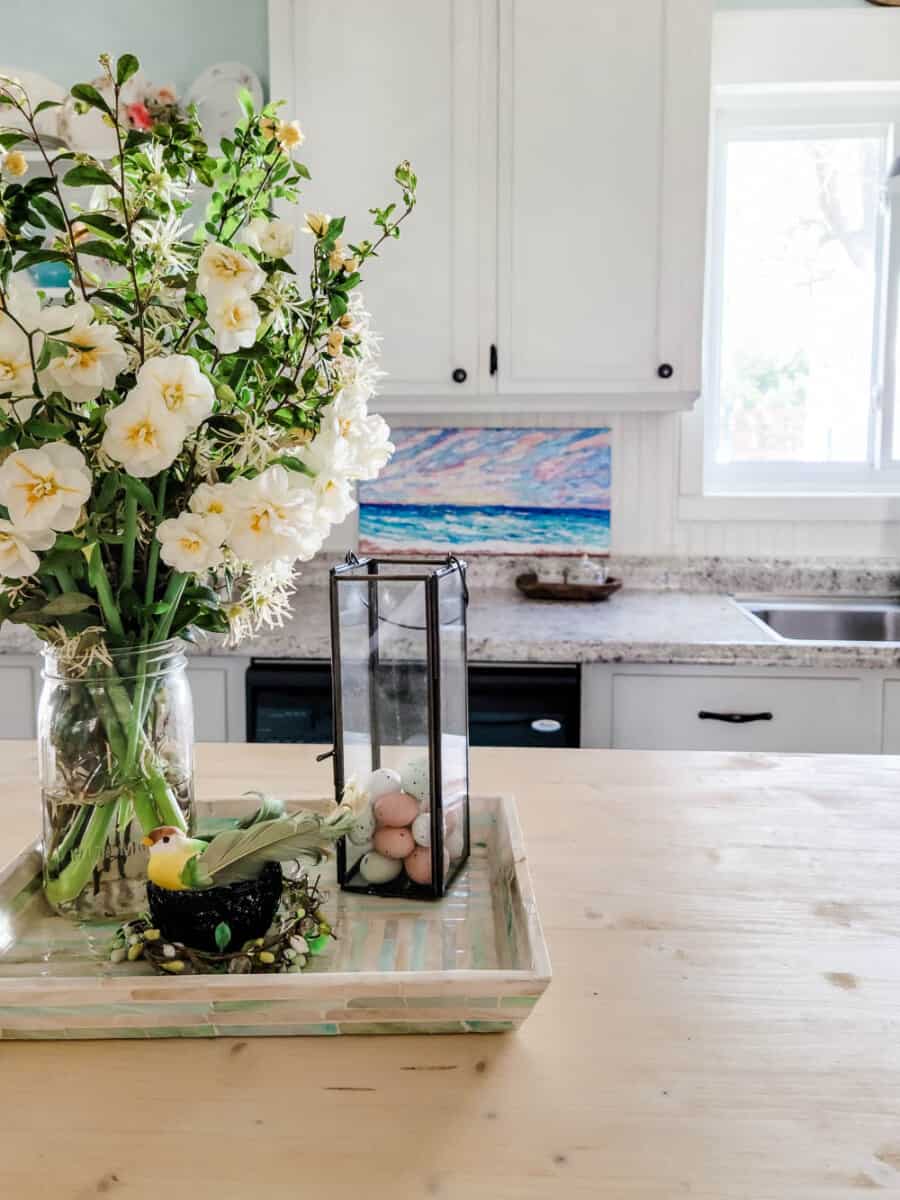
It took some trial and error but we figured out a way to stain and seal our butcher block island top without yellowing.
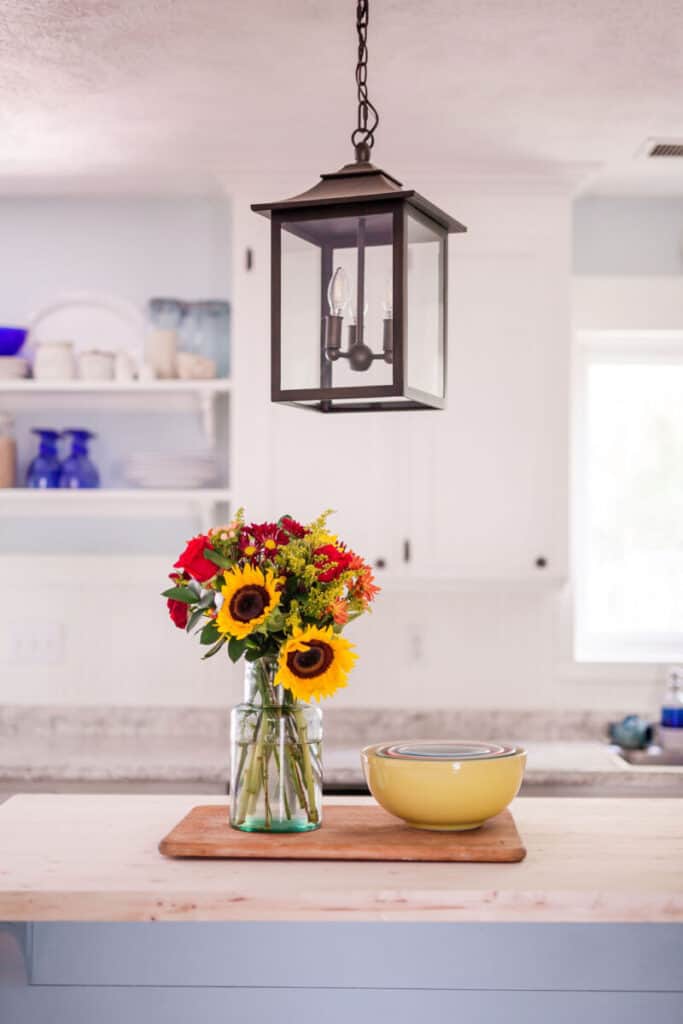
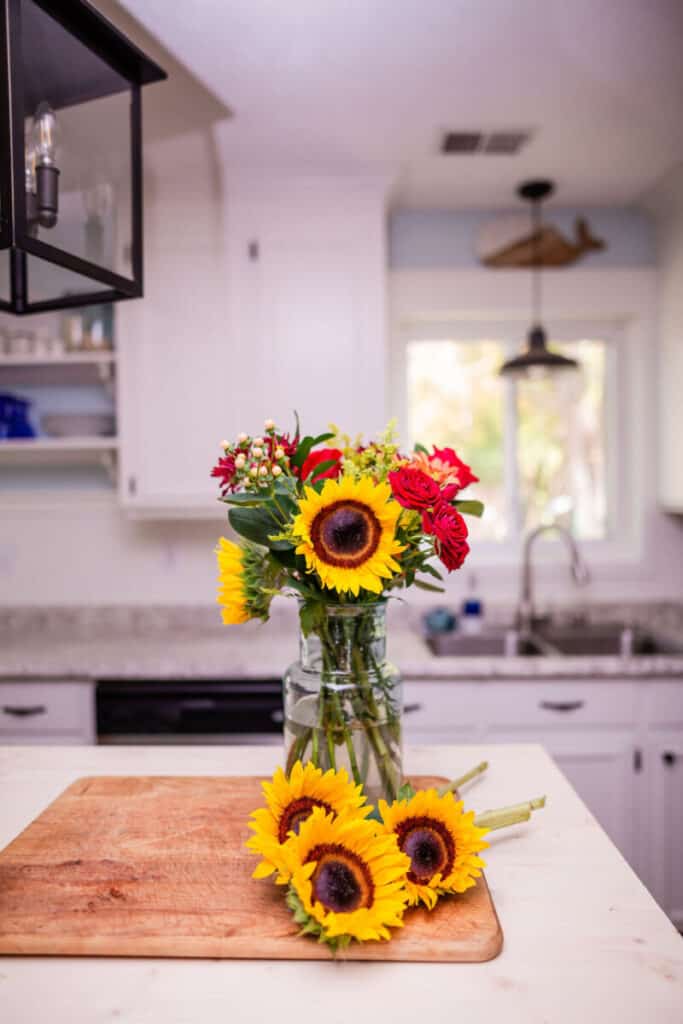
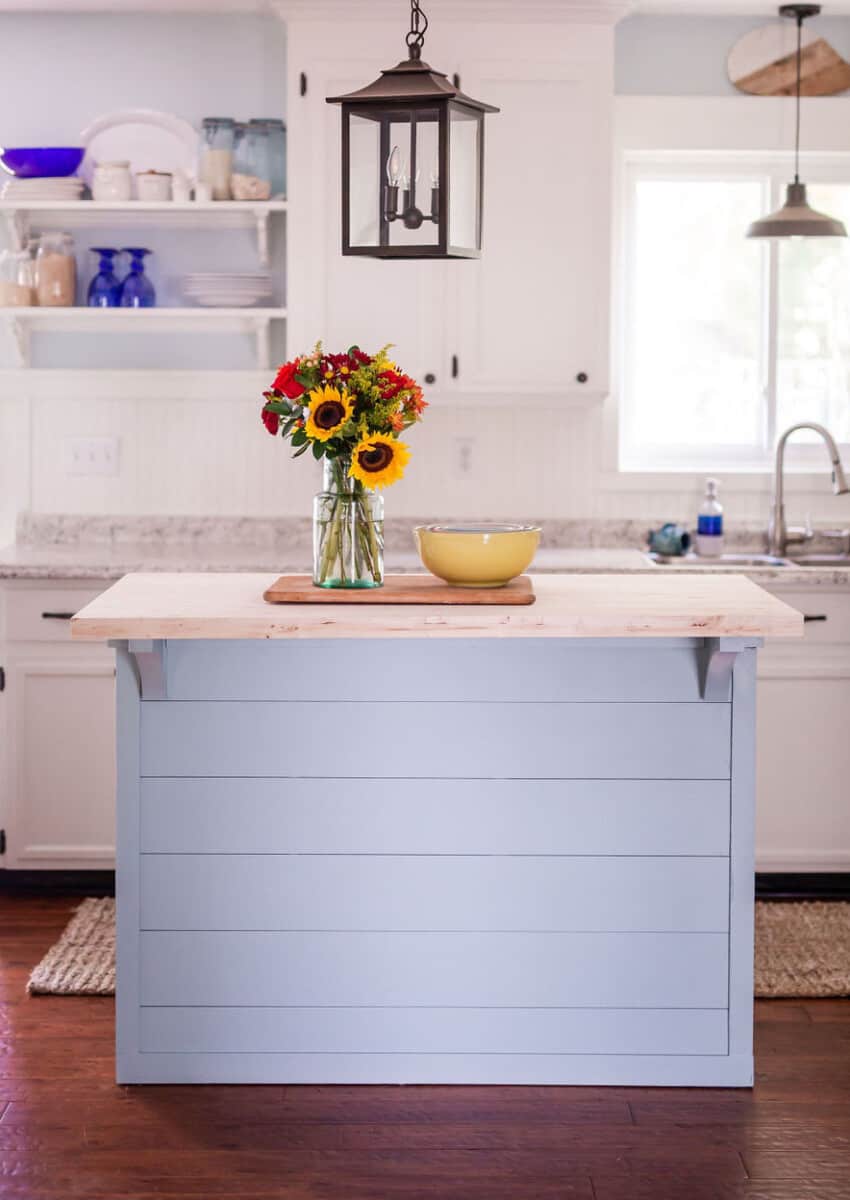
For our kitchen island countertop, we chose butcher block and wanted to keep the natural color of the wood.
This post contains affiliate links. As an Amazon Associate, I receive a small commission at no cost to you! Read my full discloser policy here.
The Right Stain for Butcher Block
Every product we tried on a test piece yellowed to some degree.
Then we discovered the secret ingredient!
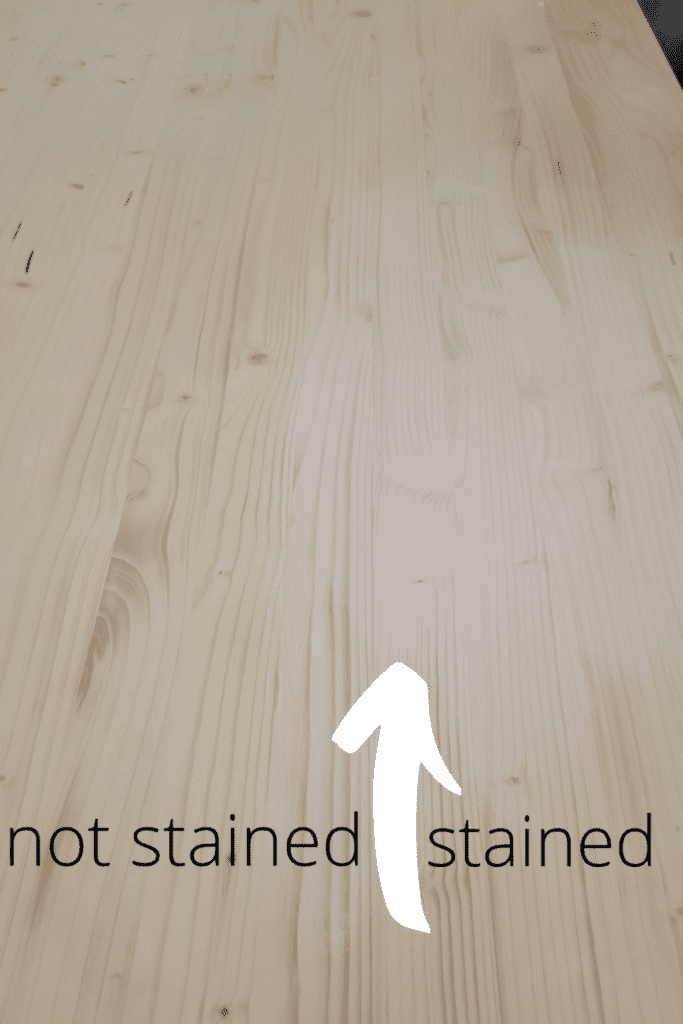
White stain!
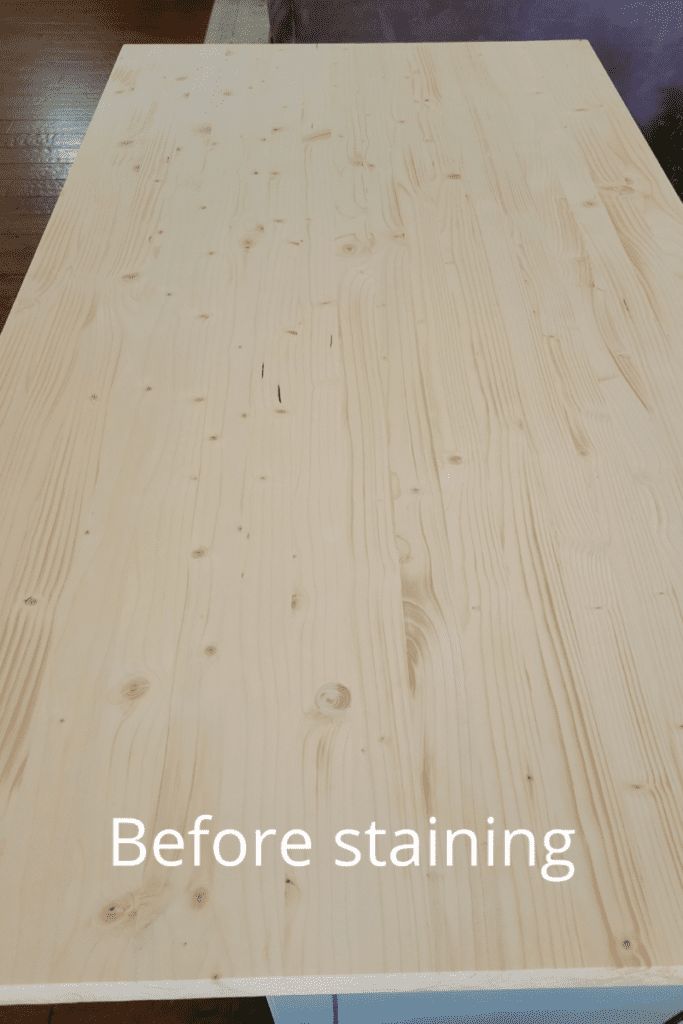
The white stain covers the yellow tint in the natural wood.
Then sealer adds just about the same amount of yellow color so the butcher block looks like it did before staining.
But it’s protected from spills and stains.
Genius!
Supplies Needed to Finish Butcher Block
- Farmhouse Project Board
- Butcher Block Conditioner
- Minwax Wood Finish – Semi-transparent Pure White
- Waterlox Sealer
- 220 Grit Sandpaper or Sanding Block
- Tack Cloth
- rags or brushes
Steps to Finish Butcher block Counters
- test entire process on scrap piece of butcher block
- sand sides and top of butcher block with 220 grit sand paper
- prep the countertop with wood conditioner, applying it with the grain.
- lightly sand
- apply stain, using as many coats as needed for desired look
- lightly sand
- apply sealer
Staining Butcher Block
When staining butcher block counters, be sure to sand between each application.
Follow the directions on the can for time between applications.
You can use a rag or paintbrush for staining.
Apply stain in long strokes going with the grain of the wood.
Sealing Butcher Block Countertops
Choose a sealer that is food safe for your butcher block counters.
Follow directions on sealer for appropriate drying times.
Apply sealer with rag using long strokes going with the grain of the wood.
Be sure to wipe up any excess sealer.
(Kitchen) Island Hopping
Next week is reveal week of the Kitchen Island Hop! I can’t wait to show you how our island turned out.
In the meantime, check out how Brooke of Cribbs Style used shiplap to update her builder-grade kitchen island.
How to finish butcher block counters

Learn how we finished our butcher block kitchen island top while keeping it's natural color.
Materials
- Farmhouse Project Board
- Butcher Block Conditioner
- Minwax Wood Finish - Semi-transparent Pure White
- Waterlox Sealer
- 220 Grit Sandpaper or Sanding Block
- Tack Cloth
- rags or brushes
Instructions
- test entire process on a scrap piece of butcher block
doing a test run on scrap ensures you achieve the look you are after. - sand sides and top of butcher block with 220 grit sandpaper
sand with the grain of the wood in long strokes until smooth. Wipe dust off with tack cloth. - prep the countertop with wood conditioner
using a rag, apply conditioner going with the grain. this ensures a streak-free finish. - apply stain
following directions on can, apply as many coats of stain as needed for the desired look. light sand and clean with tack cloth - apply food-safe sealer
tung oil sealer is food safe and will protect your butcher block counter from stains while giving it a nice finish




Great job and such a thorough post! Love how your butcher block turned out!
Thanks Brooke! I can’t stop admiring the color 🙂