
Our Shiplap Kitchen Island Reveal
Learn how to build and shiplap a kitchen island on a budget. We’ll show you how we transformed an old piece of furniture into a shiplap kitchen island.
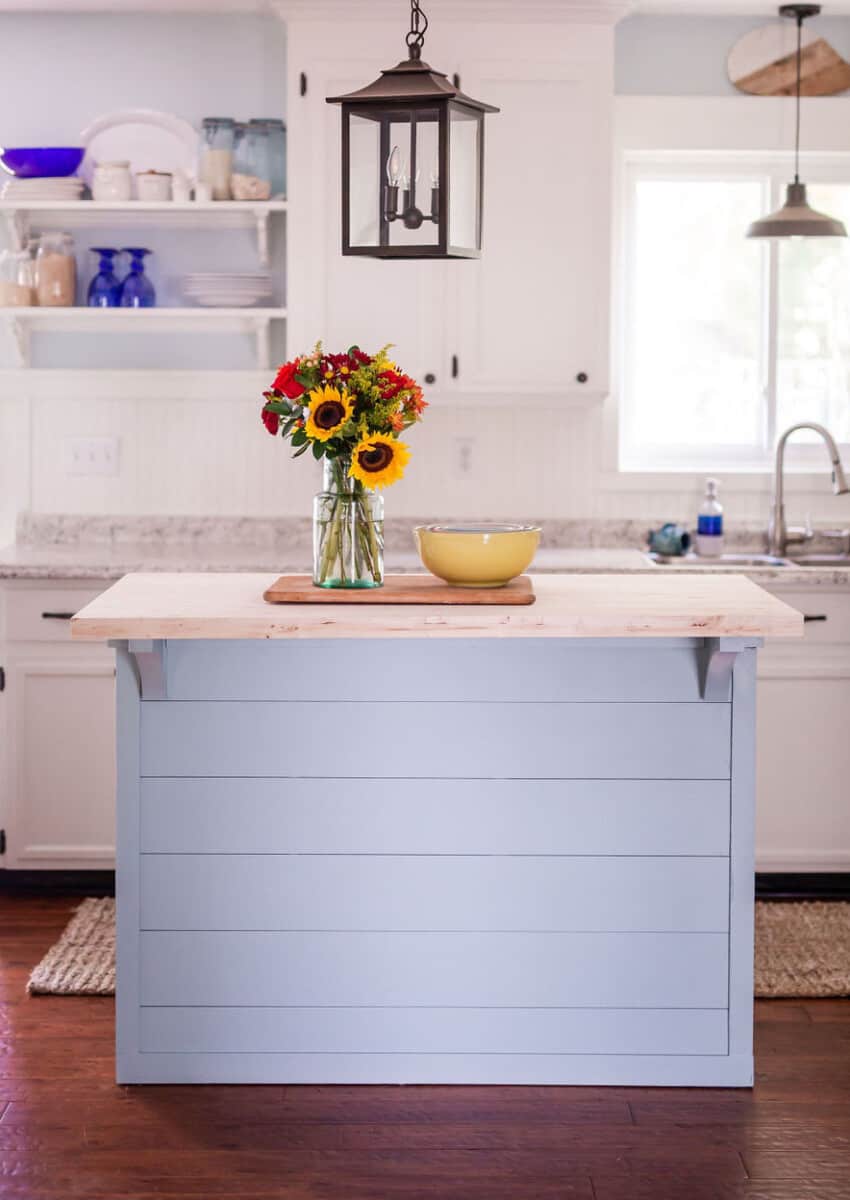
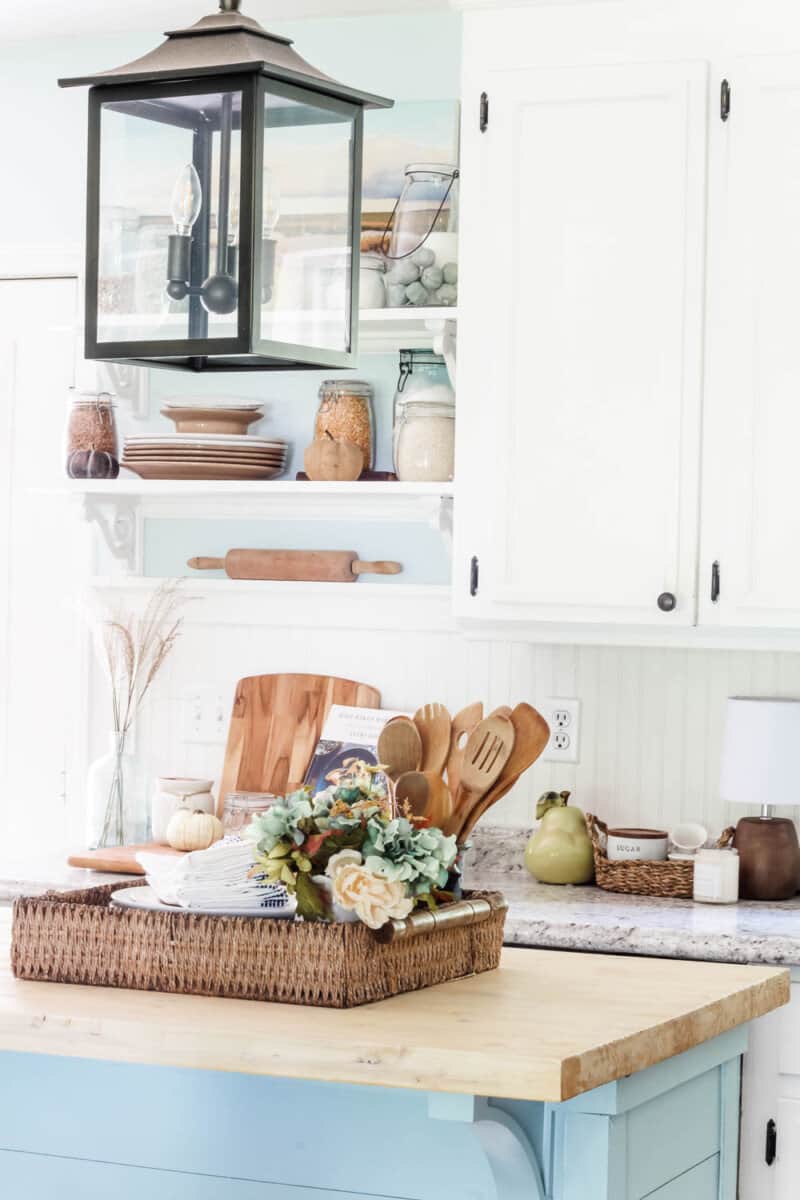
I am so excited to show you how this DIY project turned out.
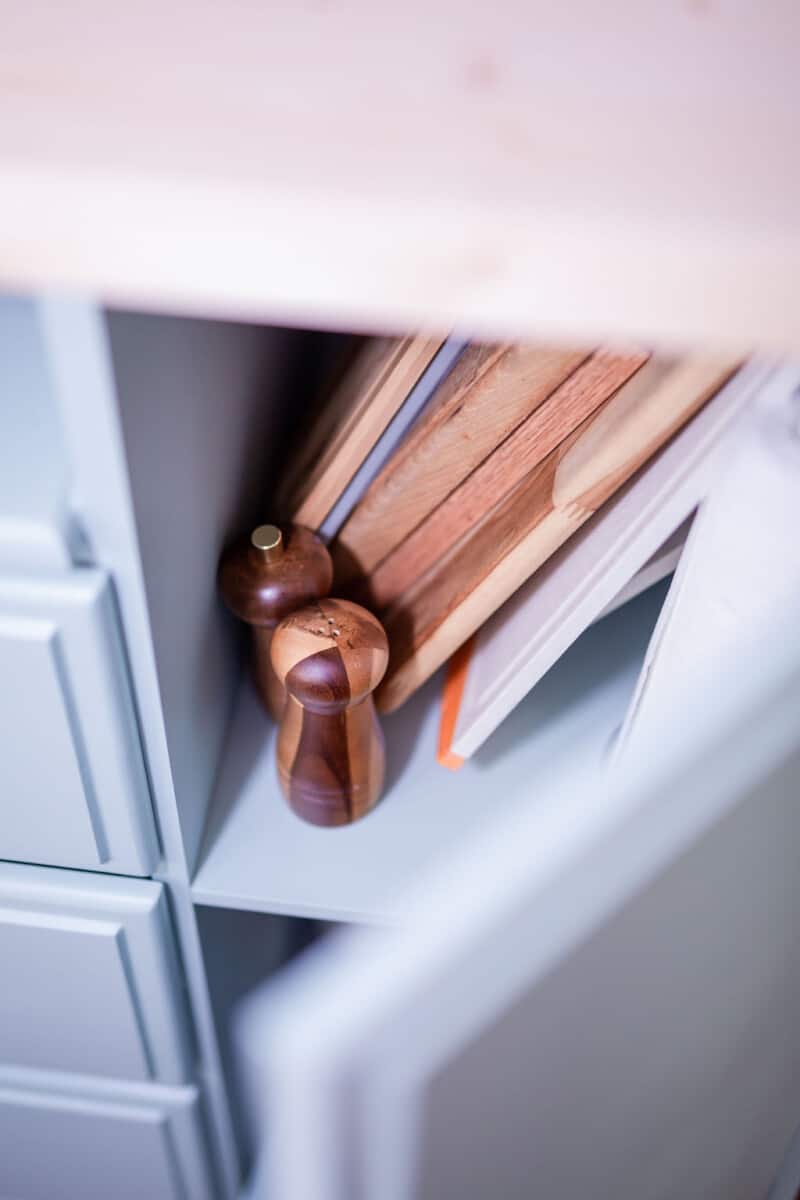
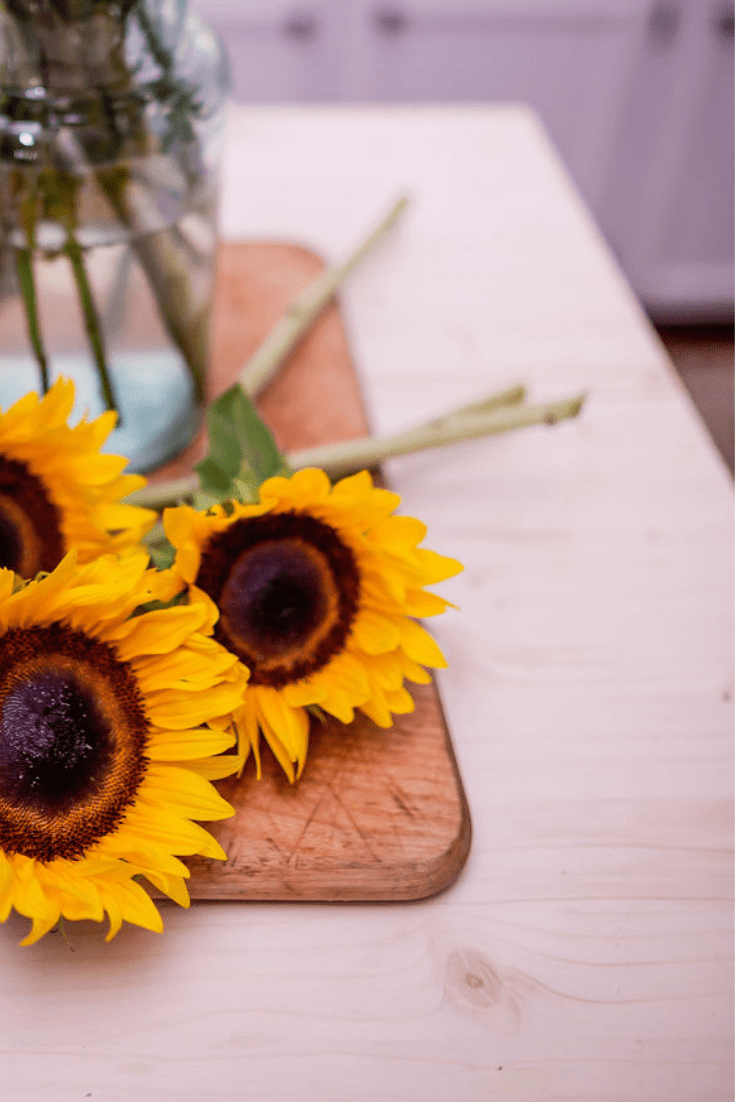
Here’s a peek of how it looks like now.
Read on to see what we started with!

Repurposing an Old Piece of Furniture
In my last kitchen post, I explained that we were trying to decide what to do about our kitchen island.
We were torn between building a diy island, updating the one we had and purchasing a ready made one.
After realizing that our current island wasn’t salvageable, I searched the internet for ideas until my eyes bled (ok, they didn’t actually bleed but they did get a little itchy) and came to the conclusion that purchasing a ready made island was out of my budget and that building one out of custom cabinets was going to take too long as cabinets are taking 8-16 weeks to come in.
You all, my pots and pans were stacked on the living room couch, there was no way I could wait that long.
Fortunately for our budget and couch, I had a realization!
In my art studio was just the thing we needed!
Perfect, right?!
Oh, you’re not feeling it? Stick with me, you will.
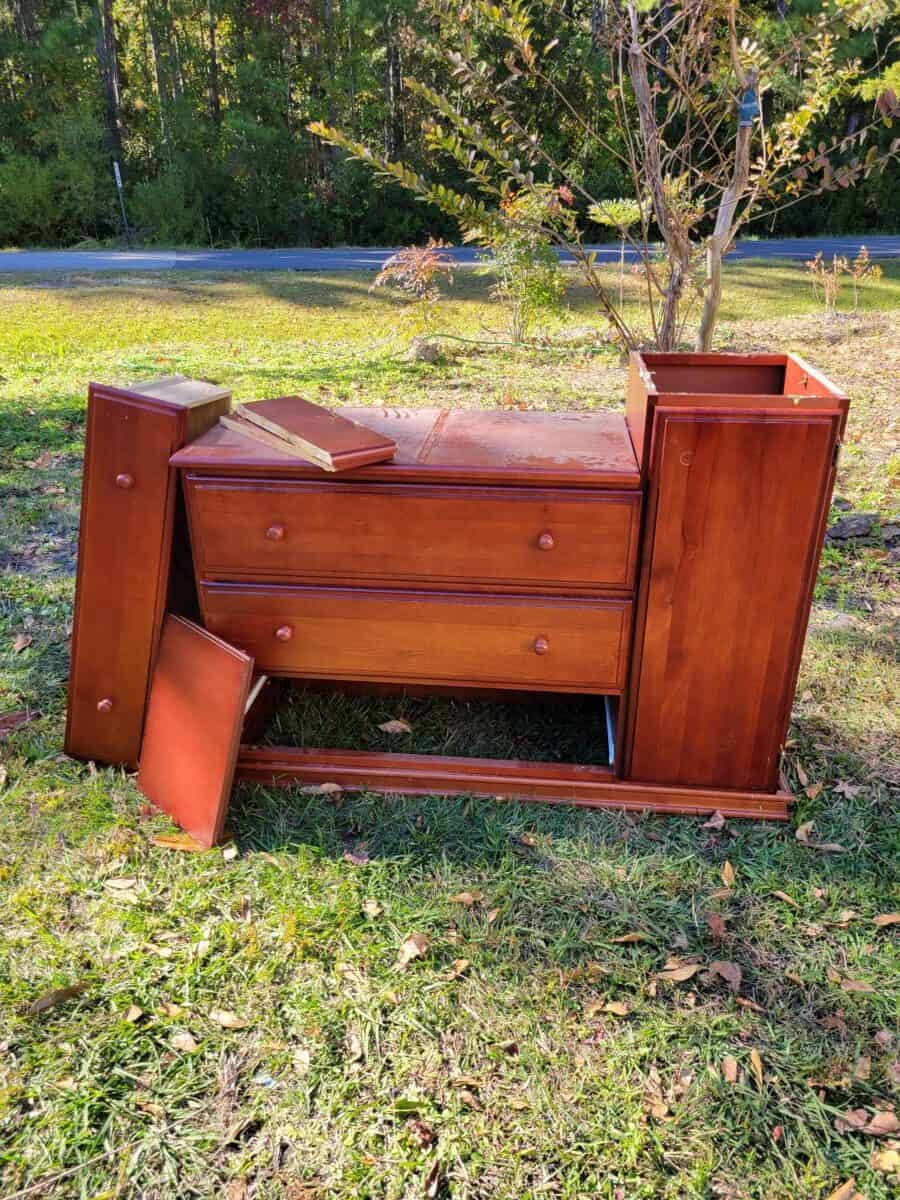
I bought this changing table from a friend for $30 about five years ago, popped an old door on top and called it a work station. It wasn’t attractive but it did the job.
Now with a little love and some shiplap it will take on yet another task.
This Month’s New Again Series
This furniture flip is part of the New Again series.
The first Tuesday of every month, my some of my blogging besties and I share ways we took something old and made it new again.
Since James and I are all about reducing our footprint and sustainable living, I look forward to this series every month!
Be sure to check out all the New Again ideas at the bottom of this post.
Turning a Changing Table Into Kitchen Island
Here’s what we did to make that old changing table into a beautiful functional kitchen island-
- Add shiplap boards and trim
- install braces and corbels
- paint base inside and out
- stain, seal and install butcherblock countertop
Tools and Supplies Needed
- sanded plywood, other lumber or premade shiplap boards
- wood glue
- miter saw
- nail gun and staples
- compressor (not needed if you have a battery nailer )
- square
- wood filler
- corbels to hold up countertop
- paint for base – color Benjamin Moore Gossamer Blue
- paint sprayer
- Farmhouse Project Board
- Butcher Block Conditioner
- Minwax Wood Finish – Semi-transparent Pure White
- Waterlox Sealer
- 220 Grit Sandpaper or Sanding Block
- Tack Cloth
- rags or brushes
How To Shiplap A Kitchen Island
Even with wood prices crazy high, you can add shiplap without taking out a loan.
There are many options to choose from in regards to lumber.
There’s even precut and primed shiplap.
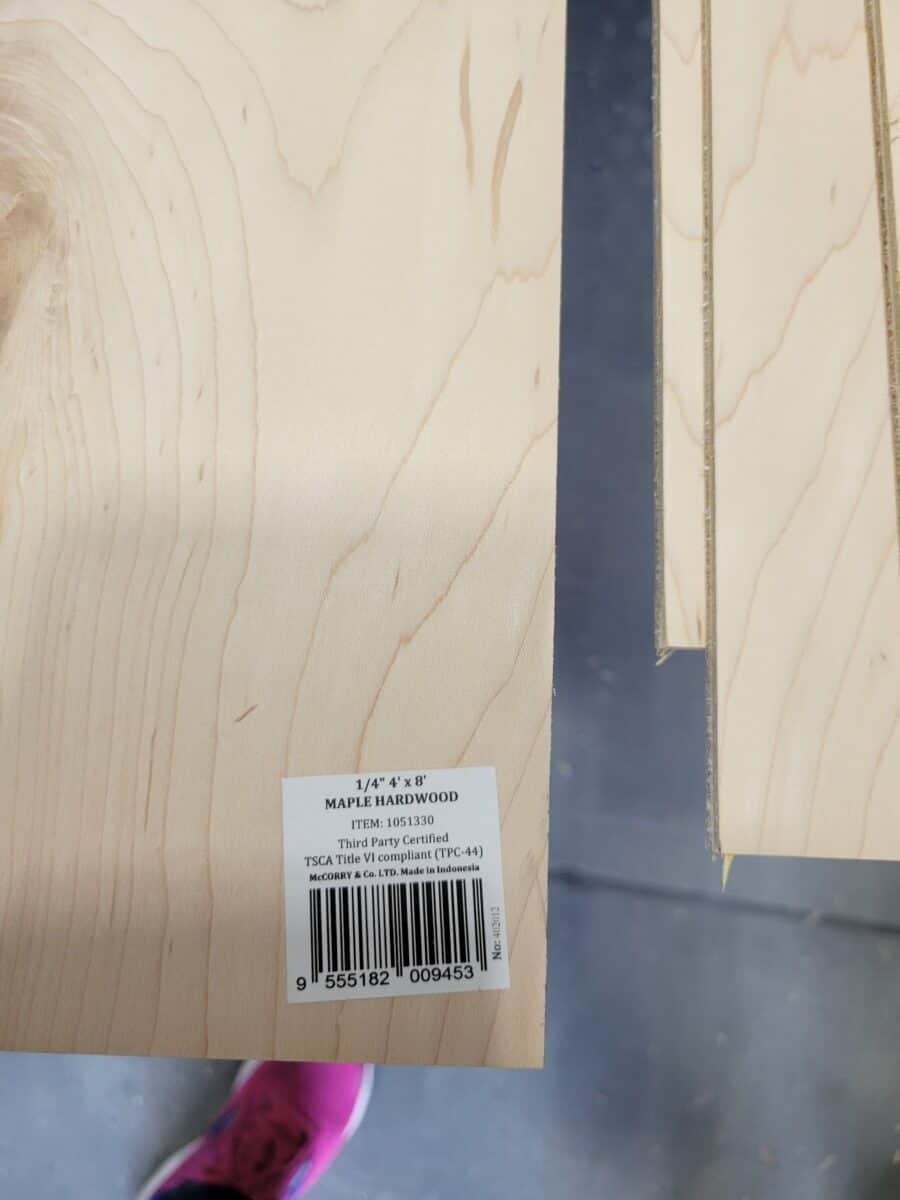
We went with 1/4″ sanded plywood.
Have your measurements ready so you’ll know how much lumber you’ll need to purchase.
This one 4 x 8 sheet was enough to cover three sides of the project.
It was $30 and Tom (our friendly Lowe’s associate) ripped it into 6″ pieces.
Not only did that save us from having to rip it but it made it much easier to fit in my vehicle.
You can even order it online and they’ll have it ready when you get there!
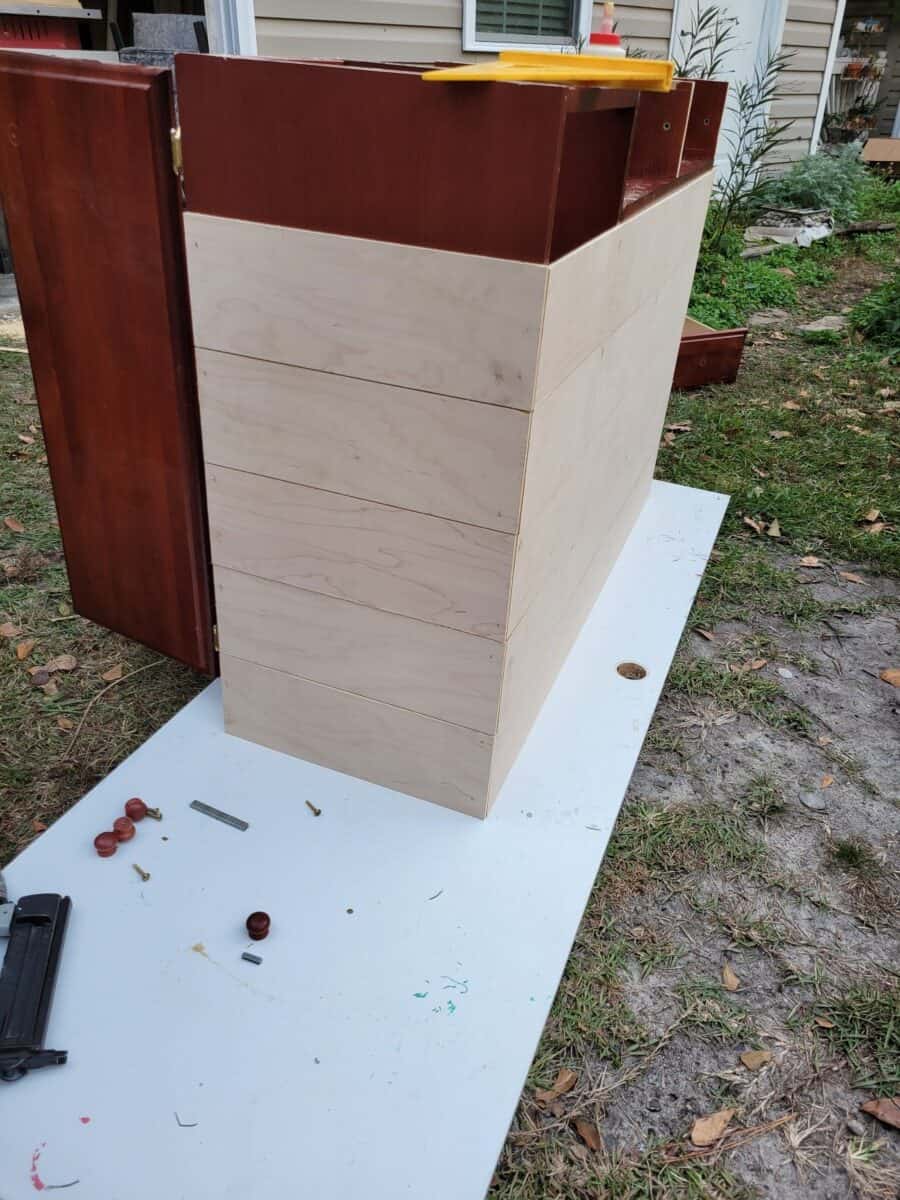
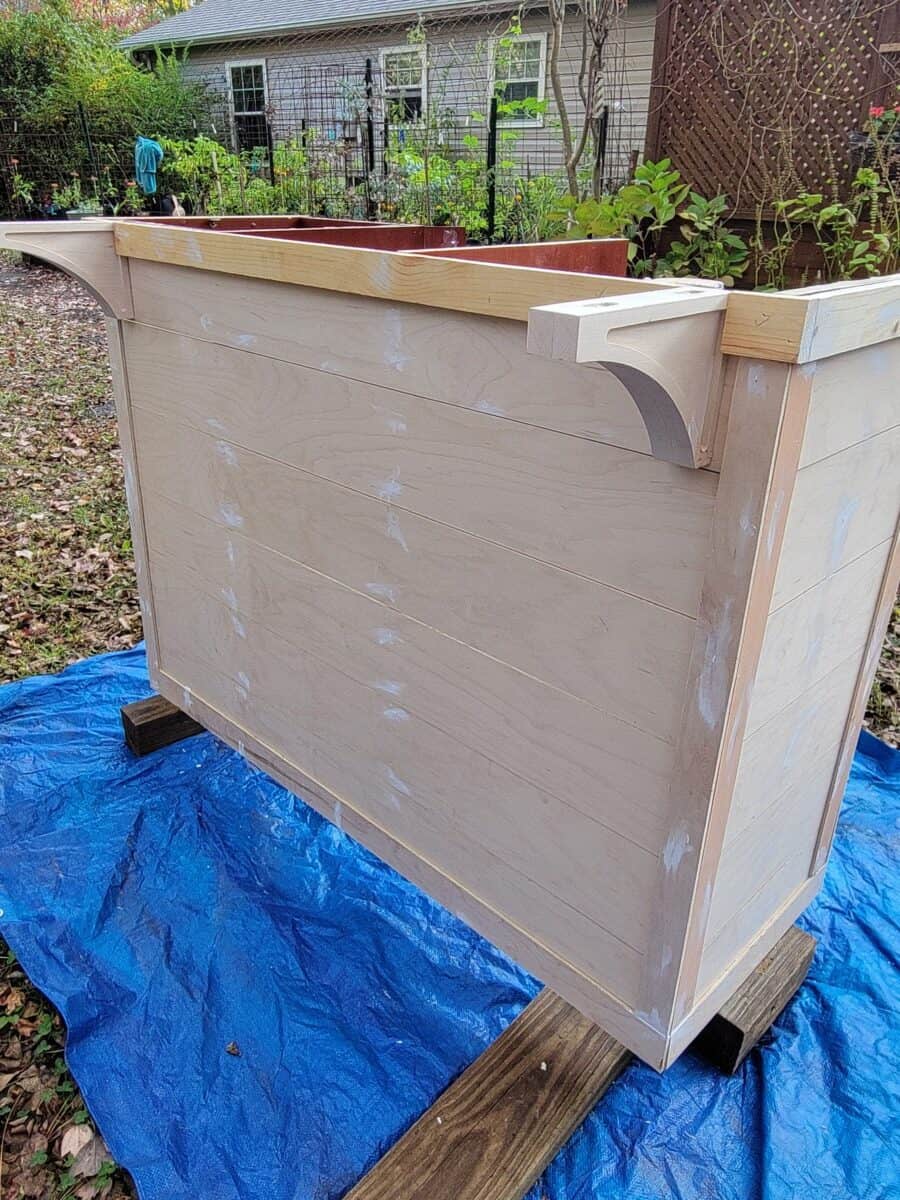
How to Add Shiplap
Putting shiplap on your kitchen island is relatively easy.
1. Measure out how long you’ll need the boards to be and cut to size.
Be sure to decide where your overlap will be (0n the front or sides) before cutting.
2. Nail board in place in just a couple spots.
3. Use nickels to keep spacing even.
4. Resist the urge to do an entire side at a time. Staple the front, then to the two sides for every row. This will help keep your lines straight.
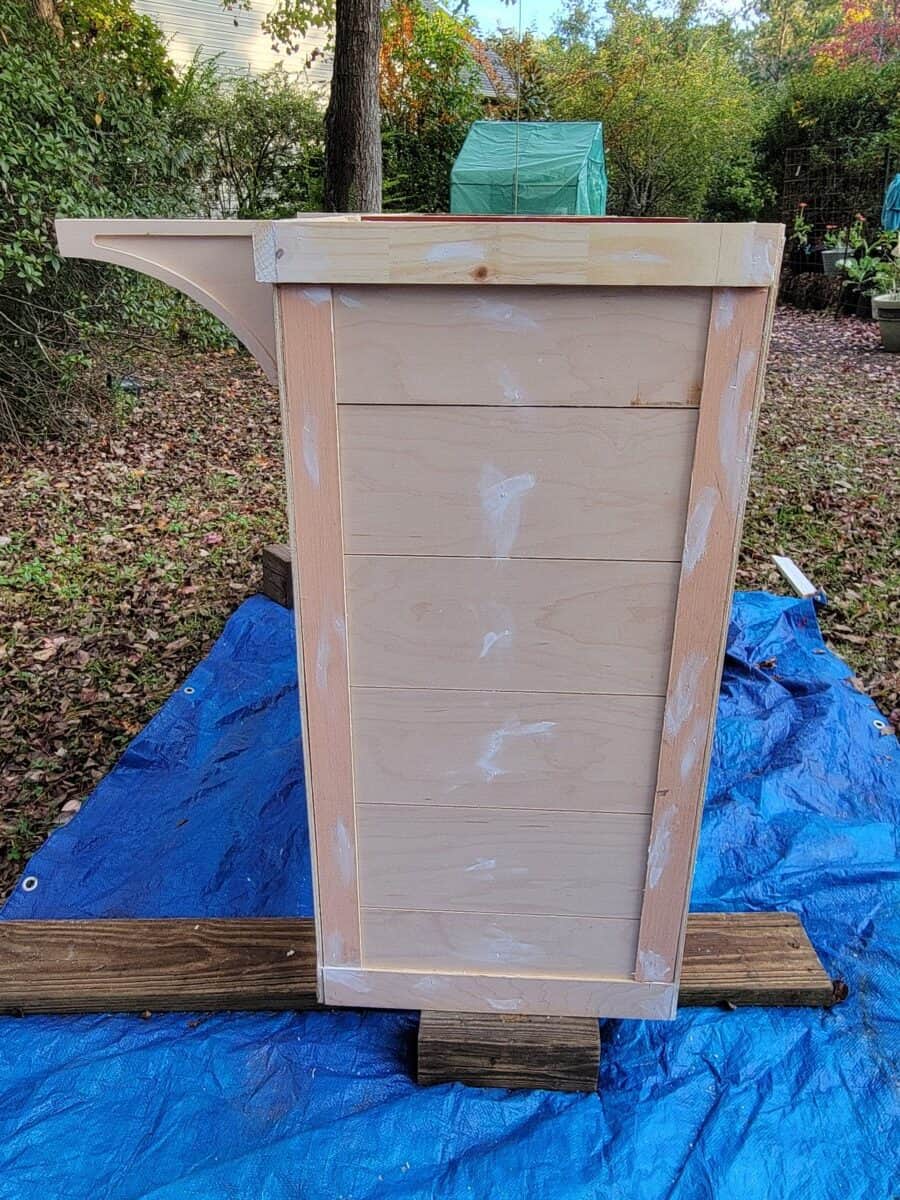
5. Add trim pieces, braces for countertop and corbels.
6. Fill in nail and staple holes with wood filler, let dry then sand smooth.
Tips for Building a Shiplap Kitchen Island
Here are a few tips for adding shiplap to a kitchen island
- keep a square tool handy. It will help you keep all the pieces well, square.
- use nickels for spacing. They’re the perfect size. If you don’t use something to space the shiplap, after painting it will look like one piece and all Tom will have done all that board ripping for nothing.
- plan ahead! Figure out ahead of time how many pieces you’ll need and what size they should be. If one of your pieces needs to be shorter (top to bottom) when adding shiplap to a kitchen island, put that piece on the top. It will be less obvious there as the island top will cover it.
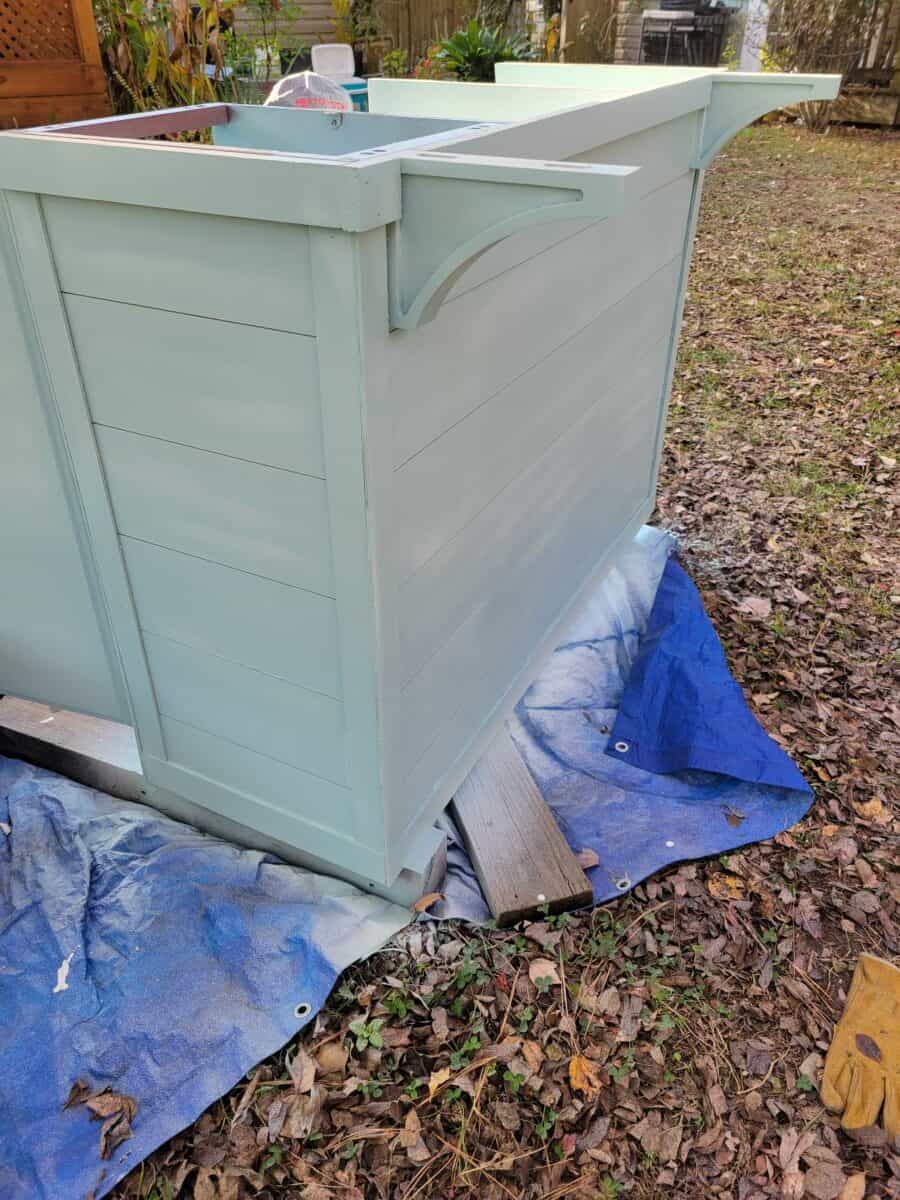
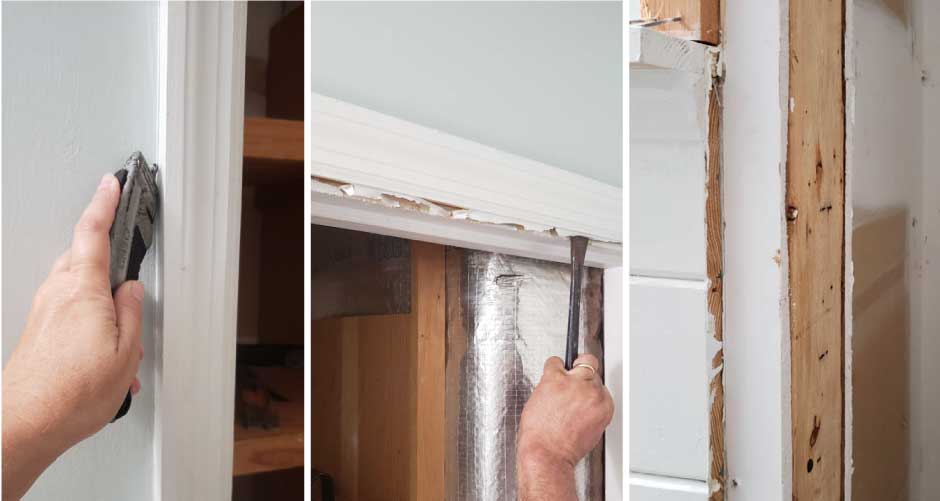
Painting Base of Island
Using our Wagner Flexio paint sprayer made this part so fast and easy!
We put three coats (two were probably enough) of paint on the base and drawers, lightly sanding between coasts.
The color is Benjamin Moore Gossamer Blue.
This is the same color as the insides of our mudroom door and front door.

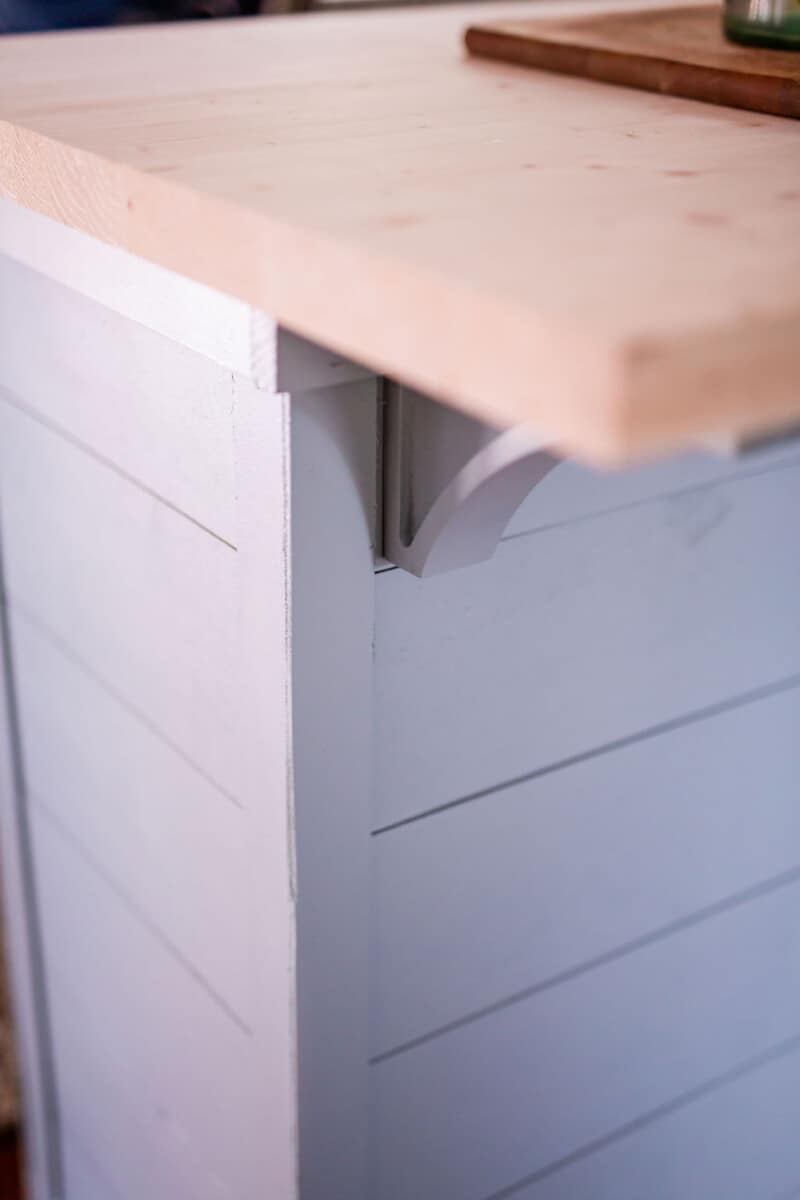
Butcher Block Counter Top
For our kitchen island countertop, we chose butcher block and wanted to keep the natural color of the wood. To see how we stained and sealed the butcher block top with no yellowing, see our How to Finish Butcher Block Counters post.
We attached the butcherblock to the top of the shiplap base using screws,
It overhangs the base about 1.5″ on each side and 2″ on the drawer side.
On the shiplap side, it overhangs about 10″ which is just enough legroom to allow for barstools.
New Again

A Life Unfolding
Vintage Find Into a Drink Table
Noting Grace
DIY Thrifted Lamp Makeover
Sand Dollar Lane
Our Shiplap Kitchen Island Reveal

I hope these projects have inspired you to make something in your home “new again” also!
Leave me a comment letting me know!


Your shiplap kitchen island turned out perfect!
Happy Valentine’s Day,
Kippi
This piece really turned out amazing! You transformed the old into some new and useful and in my book, that’s a good thing! Great tutorial too! Congrats on being featured on Tuesday Turn About this week!
I just love this project and am so excited to feature it on Tuesday Turn About this week! Thank you so much for sharing! Have a wonderful week, my friend! 🙂
Wow!! This is amazing, Leen! What a transformation! Thank you so much for sharing at Tuesday Turn About! xo
I love it!!!! It looks so so good!
This is a brilliant idea and it turned out so beautifully. The color is bright a perfect match for your charming home.
Looks great!!!
Would love to see drawer side too
You did such a good job on this, Leen! I wouldn’t have guessed that was a changing table under there!