DIY Wooden Bathroom Shelves
It’s Reveal Day of the $100 Room Challenge! Huge thanks to Erin at Lemons, Lavender, and Laundry for hosting this fun challenge! For this challenge, we turned our ugly bathroom closet into organized wooden bathroom shelves.
Before I reveal our bathroom closet turned shelving, I have a confession. Ready for it?
I have never remodeled or decorated a room/space on a budget before.
Really, never have I made plans for how much I would spend on a space.
Whew, it feels good to get that out in the open!
I am not saying that the sky was the limit for previous projects or that I spent money on gold plated toilet seats or things like that (who does that!?).
I am pretty thrifty and like to keep things affordable but I’ve never set a dollar amount that I wouldn’t go over. And I am telling you, I struggled with keeping this project in budget. Of course, lumber prices being high lately didn’t help at all!
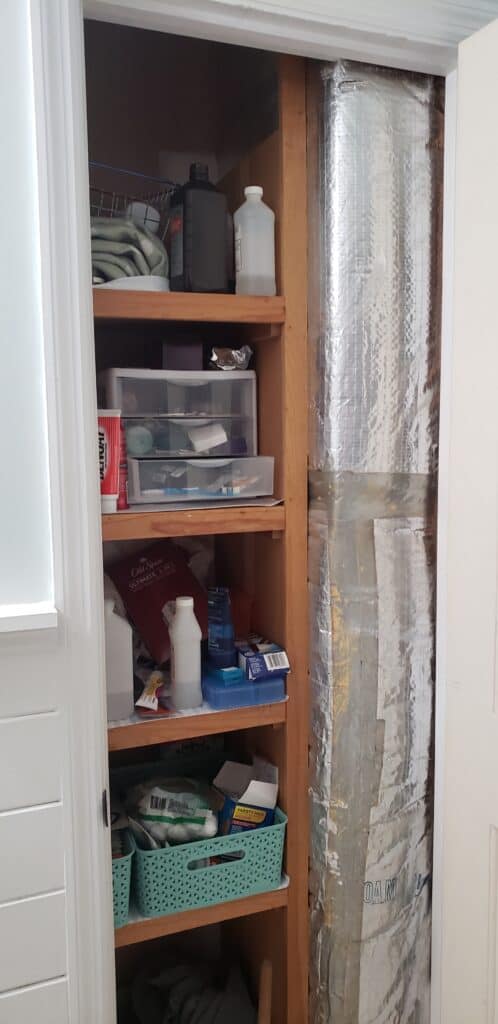
Now that we have that out of the way, let’s take a peek at where we started. If you can figure out why anyone would build a house and put a heating duct in the bathroom closet, please let me know. I am so embarrassed that we lived with it like that for 15 years!
Bathroom Closet Progress
See how much we accomplished (or not!) each week
Total Cost
I thought I was going to go over budget because I couldn’t find the leftover Sea Salt paint from when we remodeled the bathroom last year. Thankfully, my friend, Brittany had some extra and didn’t mind sharing!
- Fabric Bins $17.79
- Lumber $72
- Paint – already had
- Minwax Stain– already had from studio floor project
- Tools- already had
- glass jars and little basket- already had
Total Spent- $89.79
$10.21 under budget! I might actually be good at this budgeting thing!
Accessories and Organization
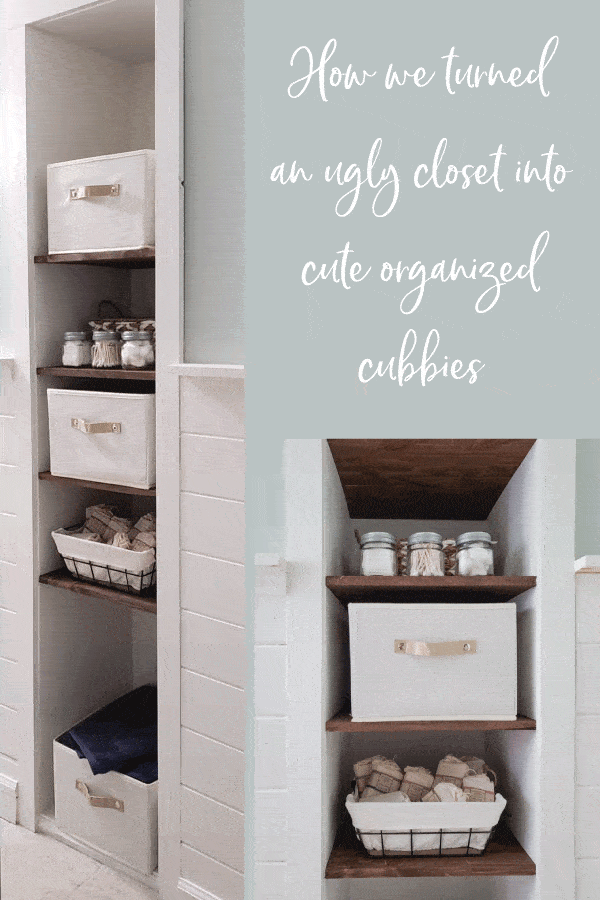
Both our boys have their own basket for their stuff. Each shelf being smaller is actually great because there’s no room for extra junk. The opposite sides of the bins have space to put a name tag but I like the clean look without it.
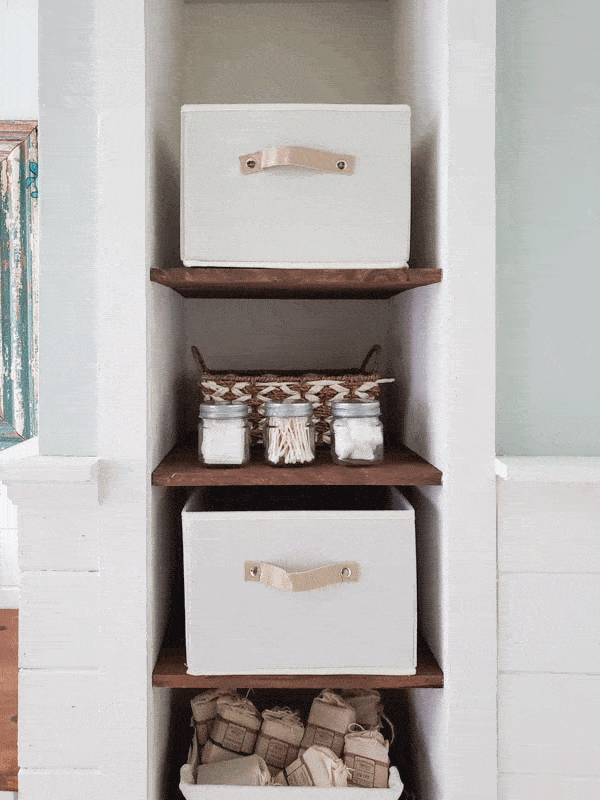
The basket of handmade soaps from Long Winter Farm was in the master bath.
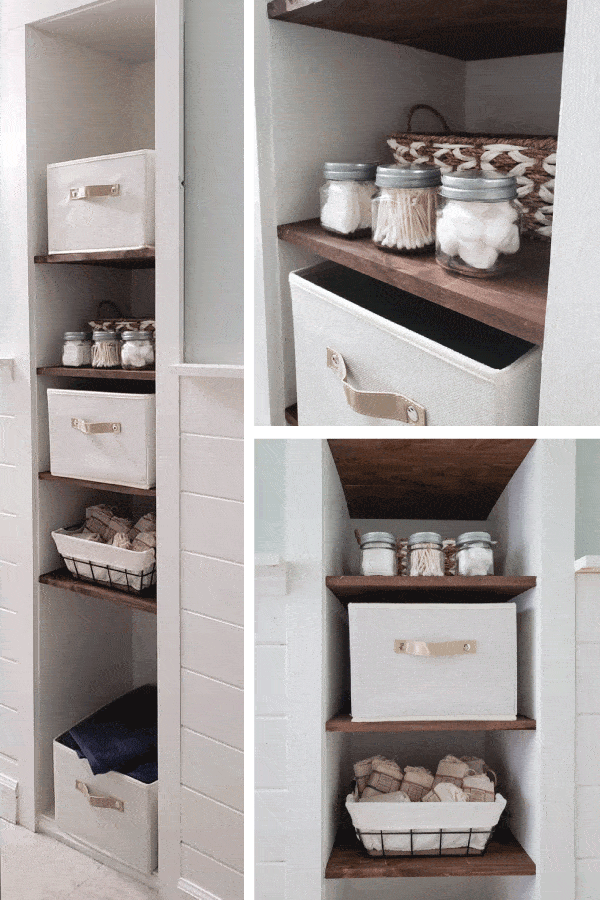
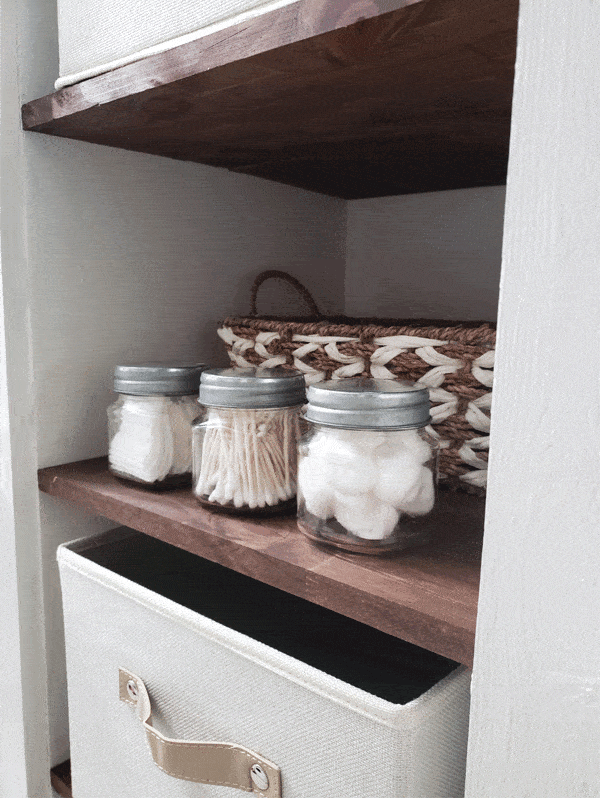
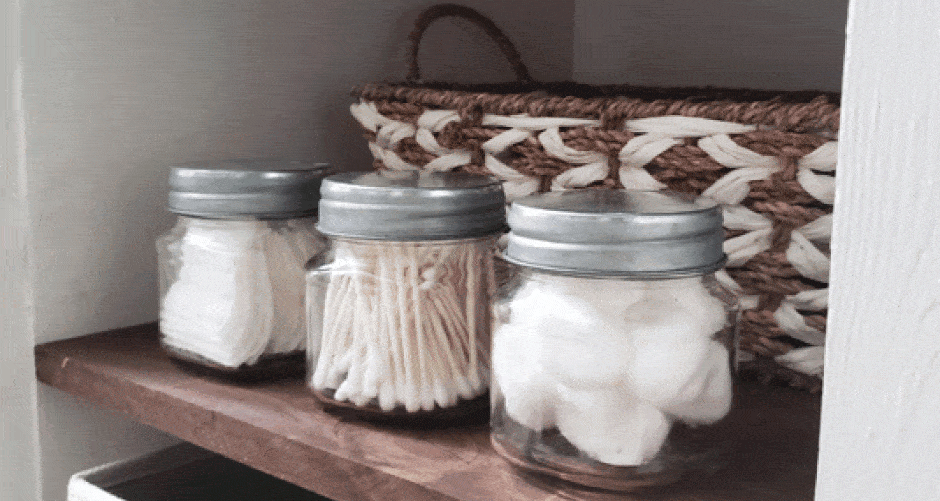
Glass jars hold essentials without hiding them. Dark towels are always a good idea with kids, especially since the youngest is all about dirt bikes lately.
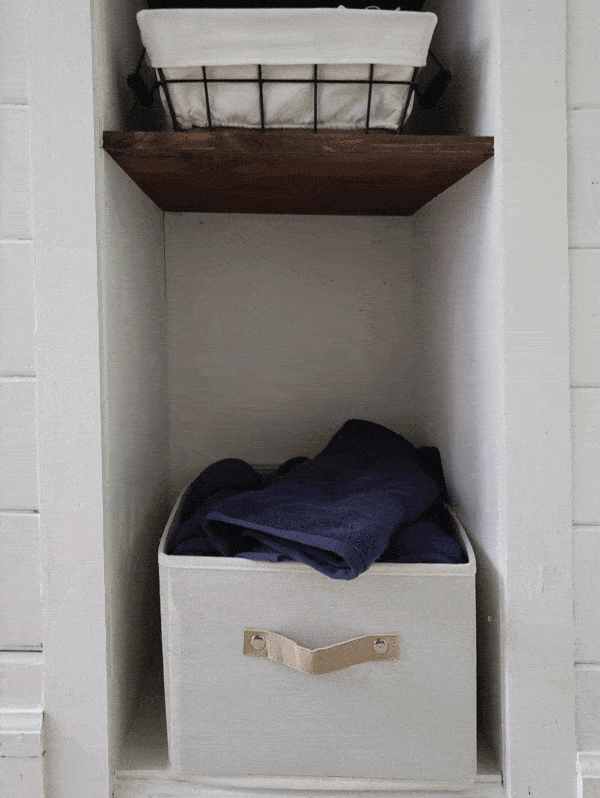
I may eventually put a hamper in this spot instead of the bin of towels. Couldn’t break the budget though!
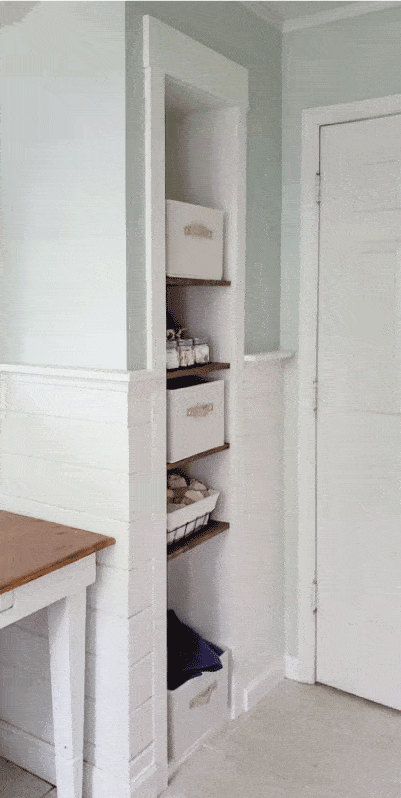
We’re really happy with the way our bathroom closet turned shelving turned out. I think it looks like the room was built with wooden shelves instead of a closet.
It was kind of fun working within a budget. I may actually try it again someday!
If you love budget room makeovers, check out the rest of the $100 Room Challenge participants.



You did so good with this closet! What a great improvement to this space.
So cute! I have a bunch of spaces that could really use a set of cute cubbies!
This space really came together! I love all the wood- brings so much warmth to your bathroom. It’s kinda fun working within a budget- makes every decision worth the money! Great job
This is amazing– I have a similar corner in our bathroom that could use a good fix like this!
How did you cover up the heat duct? Was it hard??? — PS- love your idea of a hamper !
Leen,
This turned out to so cute! What a great idea!
It looks just exactly like your inspiration picture, and completely in budget! So that is $100 project well done! I am sure you are truly enjoying your new storage space a whole bunch, great job!
Nothing better than a completed organization project and you nailed it. Love how the space is functional and adds charm to your bathroom
What a great makeover! Perfect space for the bathroom. Love how you made it functional and beautiful.
You really nailed this and made this space functional. Impressive.
I remember your inspiration picture and you NAILED IT! You did an amazing job transforming this space into gorgeous shelving vs an awkward closet. I think you have this budget-friendly thing down! Thank you so much for participating in the challenge this round. I loved having you and you now have an awesome space for $90. Hope you’ll join again in the future.
It looks awesome! Great job, enjoy your new space!!
Thank you! I think we are going to enjoy how clutter free it stays!
Great job! It looks like it could have always been that way. ( that’s what we say here when we finish a little tweak on the house )
I know what you mean about working with a budget !
Who even knew that working on a budget could be (kinda) fun!?
You two created a functional and pretty spot in your bathroom. Love how you have everything placed. Very pretty.
Thanks Terrie! I am loving it 🙂
That’s a huge improvement! Love it!
It does look so much different!
It looks sooo good! You can’t tell there was exposed ductwork there. Nice job.
Thanks Britt!