
How to build a DIY Boot Tray
How to build a DIY Boot Tray
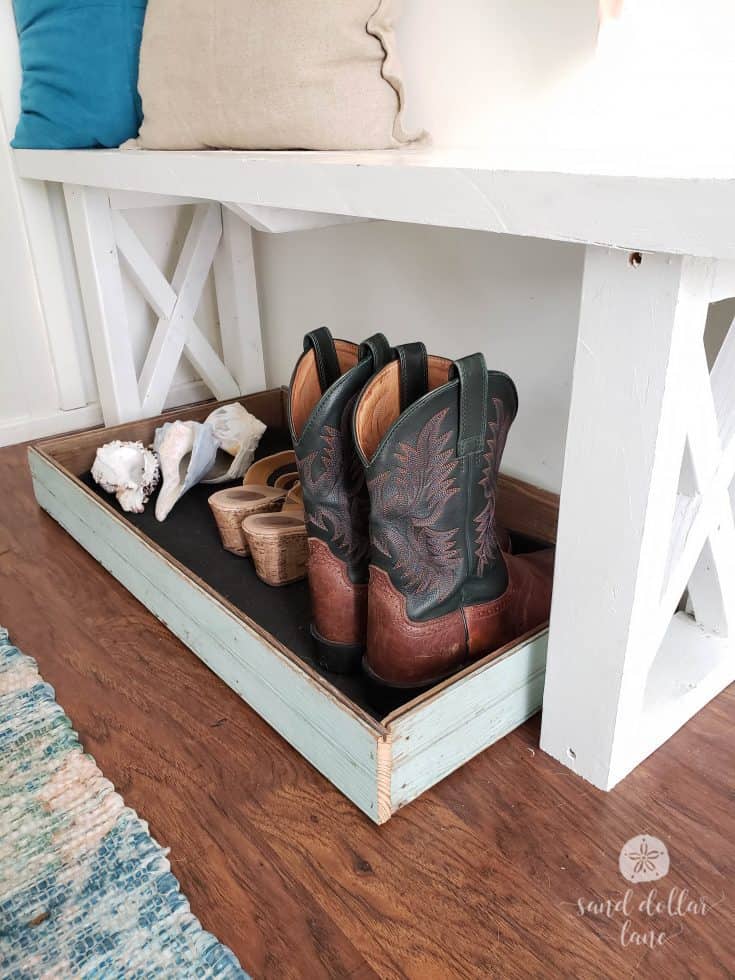
Organize your entryway or mudroom with this easy to make, inexpensive DIY boot tray.
This boot tray was the final piece of our mudroom refresh and it is perfect in there! If you need some entryway organization, check out this easy to follow tutorial.

For your convenience, this post contains affiliate links. See my full disclosure page here
I am joining some friends for this month’s DIY Project Challenge. On the first of every month this group of talented bloggers will be posting a new project. This month’s theme is Organization. Be sure to check out all the other projects at the bottom of this post.

DIY Boot Tray Supplies Needed
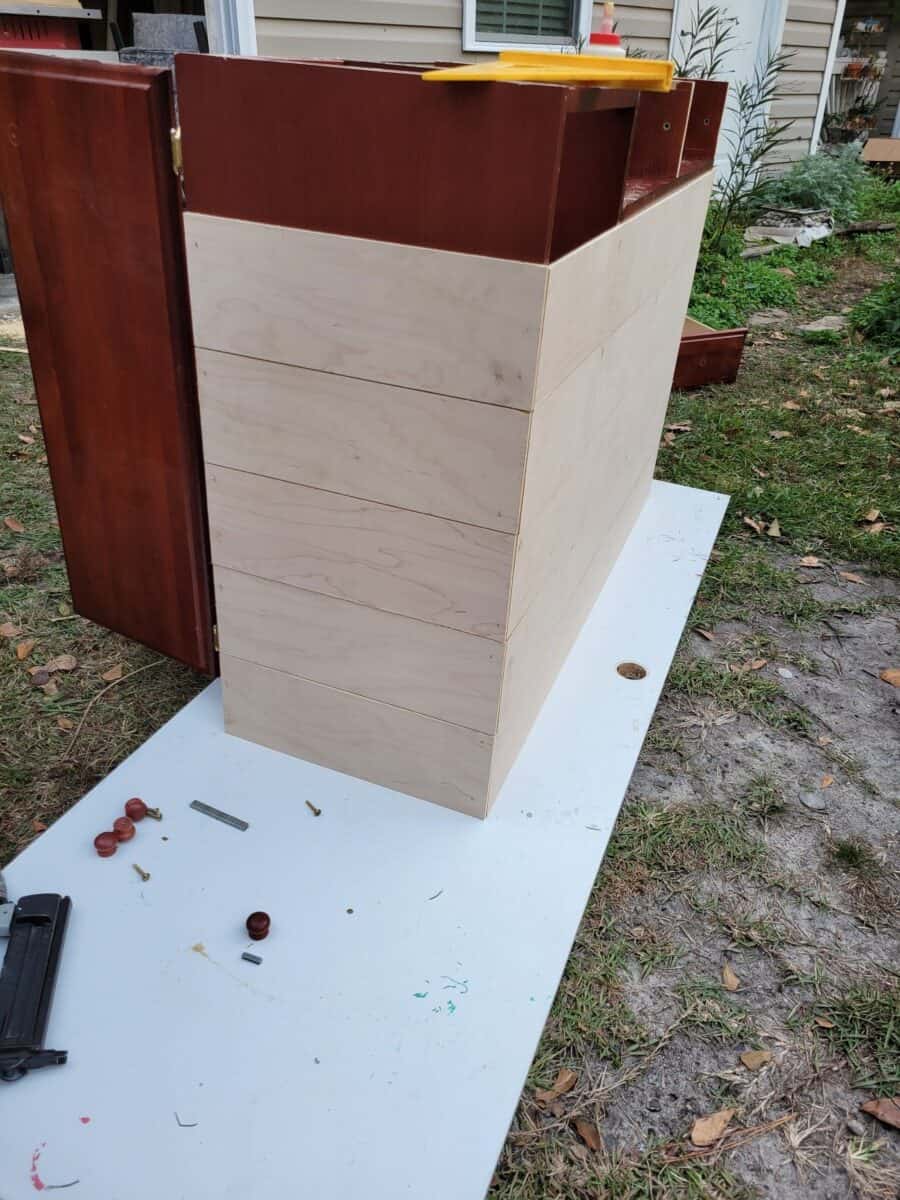
1/4″ plywood
wood trim pieces

I am a little embarrassed to tell you how long I have had these great salvaged wood trim pieces just waiting for me to create something amazing out of them. Let’s just say that the salvage place I bought them from closed down about five years ago and leave it at that!
Aren’t they great?! I have so many more pieces with different colored chippy paint. For this project you can use any trim wood. I think dark stained wood with a high gloss would look nice too.
Tools needed to make a DIY Boot Tray
eye protection
ear protection
Instructions
- cut 1/4″ plywood 1/2″ larger than plastic boot tray
- cut wooden trim pieces (2 for the sides, 1 for the front, 1 for the back)
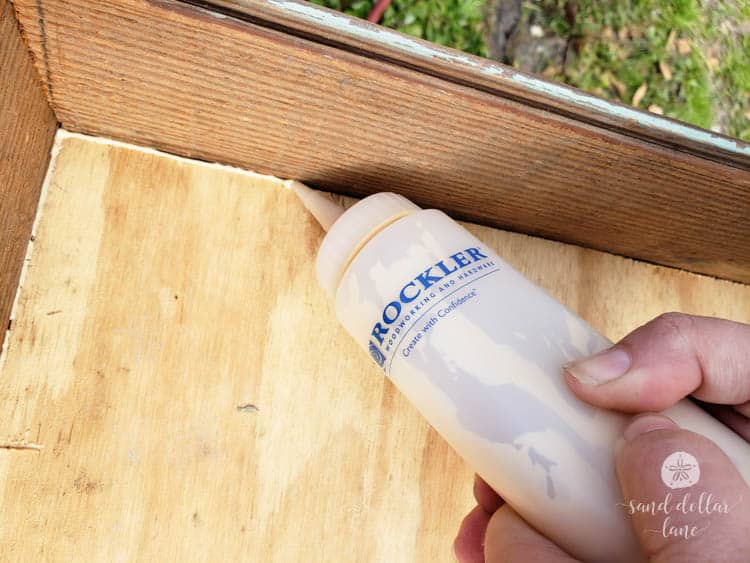
- attach trim pieces to plywood with air nailer
- run a bead of wood glue along the inside edges
- after glue is dry place plastic tray in wood tray


Organize your entryway with this easy to make, inexpensive boot tray. Be sure to wear your safety gear! DIY Boot Tray
Tools
Instructions
Notes


That reclaimed wood is AMAZING. What a perfect way to use it! Definitely making one of these for my she-shed! 🙂
Thanks Rachel! I have a lot of it left, some with darker blue and green underneath that! I sure do miss that salvage place!
Great idea we need some boot storage too. I pinned this for more inspiration!
Happy Spring,
Kippi #kippiathome
Thanks Kippi! Fun being part of this group with you!
You managed to make something typically ugly very very cute! I love what it adds to your space!
Thanks Tasha! I worked to hard on this surface to put an ugly boot tray in there
I love this boot tray! I will be making one for my front porch ASAP!
You definitely should! It really does help corral all those shoes!
Hi Leen!
I love how you used the painted beadboard slats for the trim pieces. That’s such a neat idea! And that aged distress blue color! Yay for saving them wood all those years. It was perfect for this project. I’m going to be on the lookout for some beadboard now.
I’d love for you to share this project at Homestyle Gathering this week via Serving Up Southern.
Heading off to pin this post so I’ll have it for inspiration when I do find my wood! 😉 Have a great week!
>> Kim
Thanks Kim!!
Such a cool project and those trim pieces are
Those trim pieces are awesome! Makes it look super expensive and stylish!
Thanks so much for being part of this challenge! It has been so fun! Y’all are so talented!
Thanks Ashley! What a great group of projects!
This is great! I really wasn’t sure what a boot tray was! I love the wood trim pieces. Can’t wait to see what we all make in future challenges!
Thanks Erin! I love those pieces too, I’m so glad I finally did something with some of them!