

Easy Wooden Pumpkin Craft
Looking for a fun and easy wooden pumpkin craft? I have you covered with this tutorial to create a pretty pumpkin for your fall decorating.
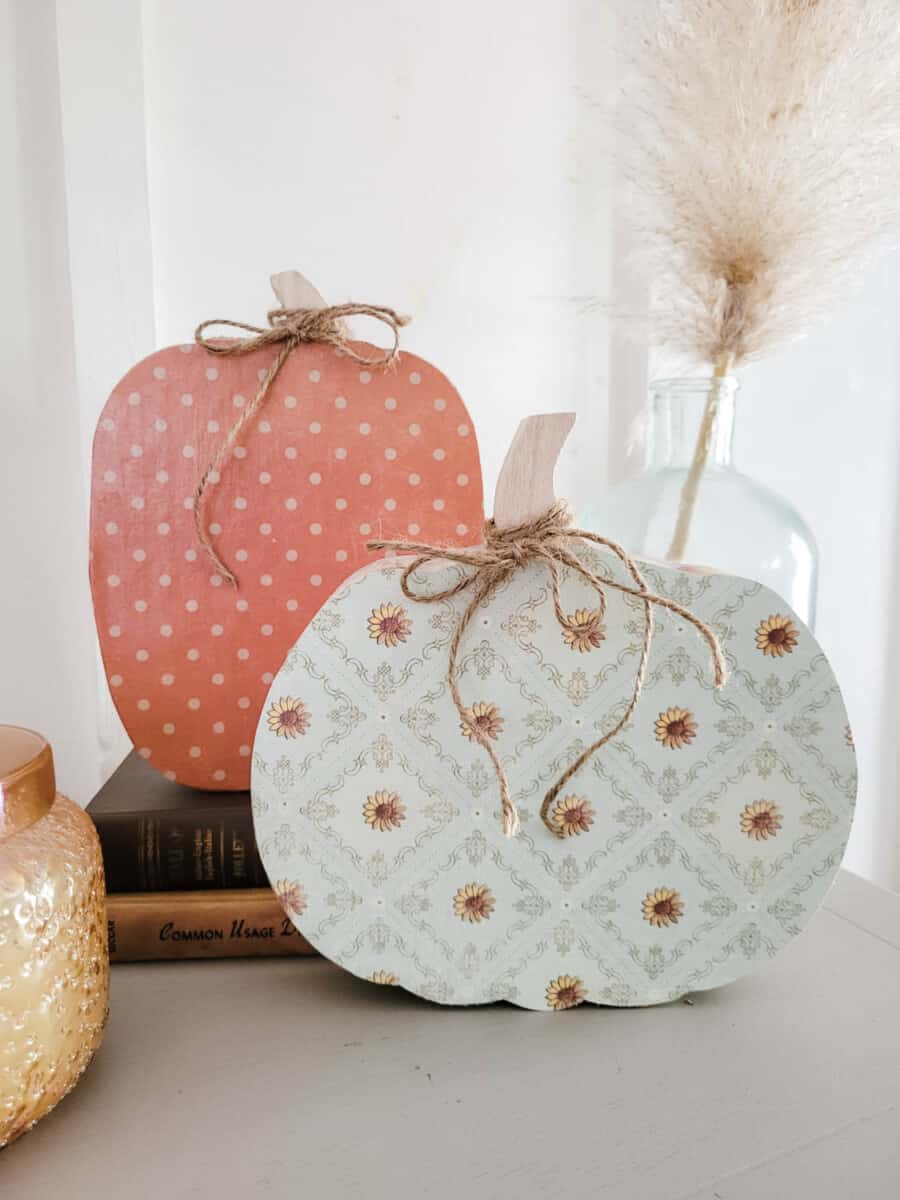
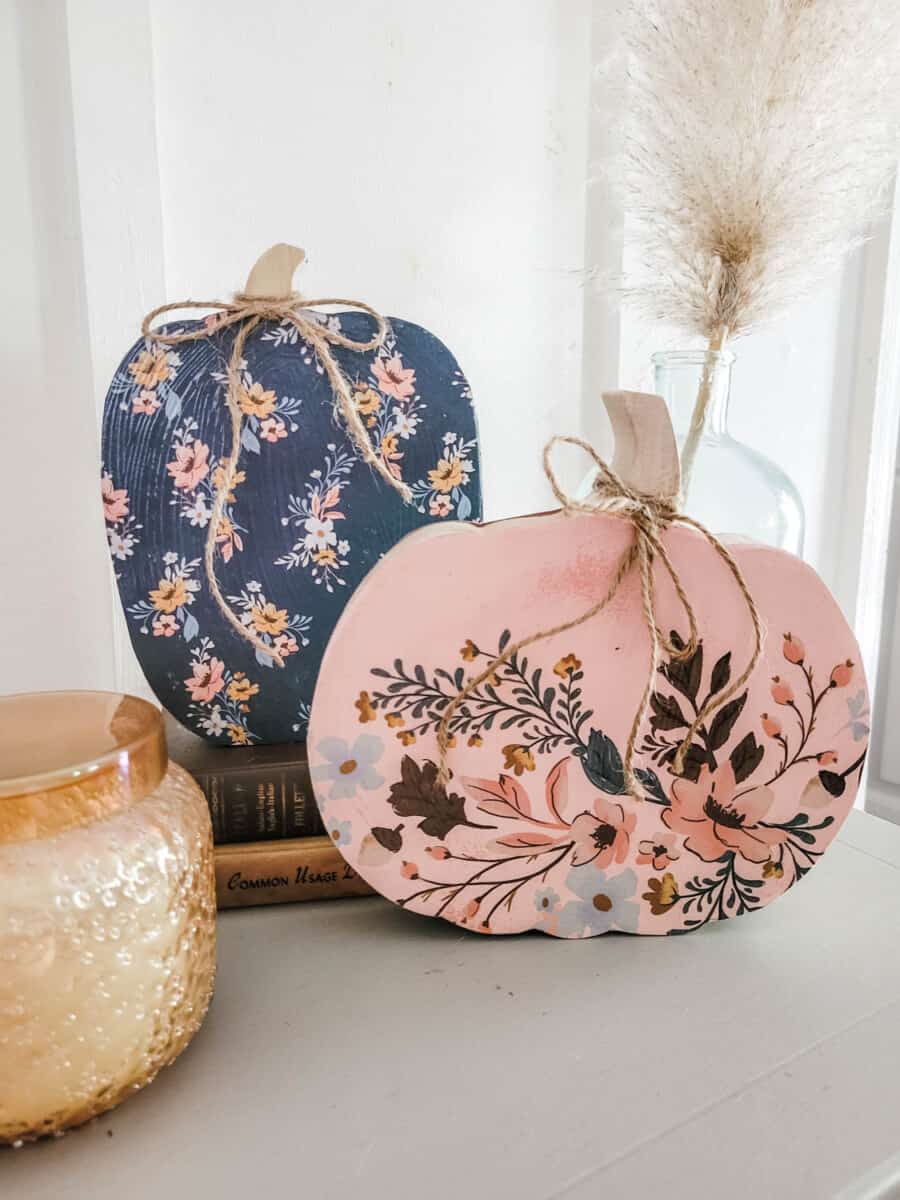
This fun wooden pumpkin craft takes less than a half hour to make and is so versatile! You can make several of these cute wooden pumpkins to decorate your home all through fall.
This post contains affiliate links. As an Amazon Associate, I receive a small commission at no cost to you!
How to Decorate a Wooden Pumpkin
Wooden shapes are one of my favorite craft supplies.
There are so many different ways to decorate them and you can find them for every season, holiday or occasion.
You can use any of the following to decorate wooden pumpkin shapes-

Using Scrapbook Paper to Decorate pumpkins
Since I have an extensive (and ever growing) collection of scrapbook paper, that’s my go to supply.
Plus, it’s an easy way to decorate wooden shapes and there are endless options available.
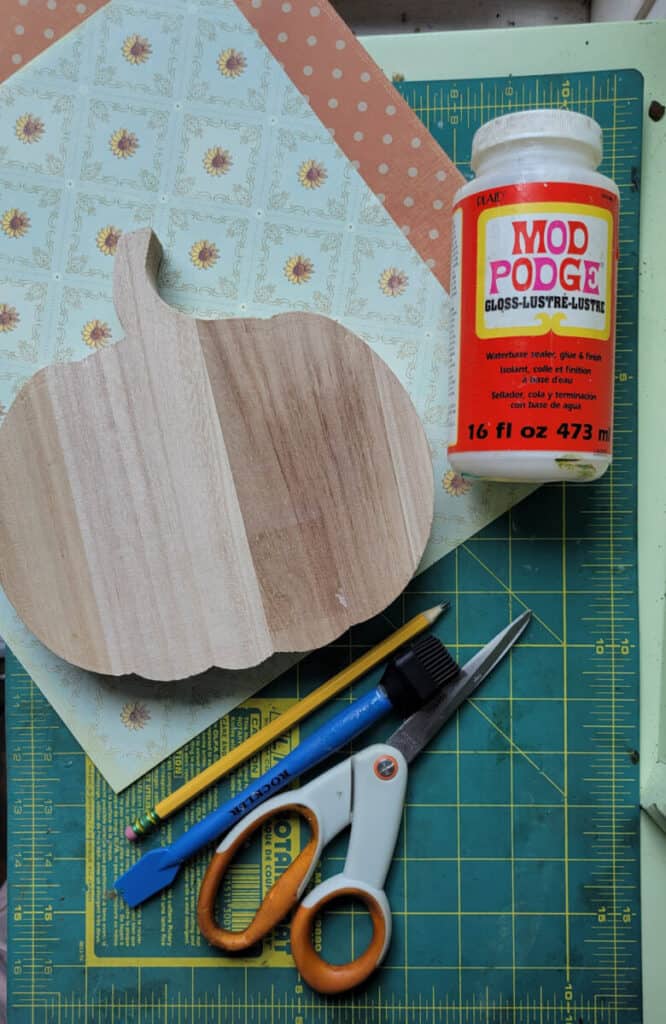
Supplies Needed
Instructions
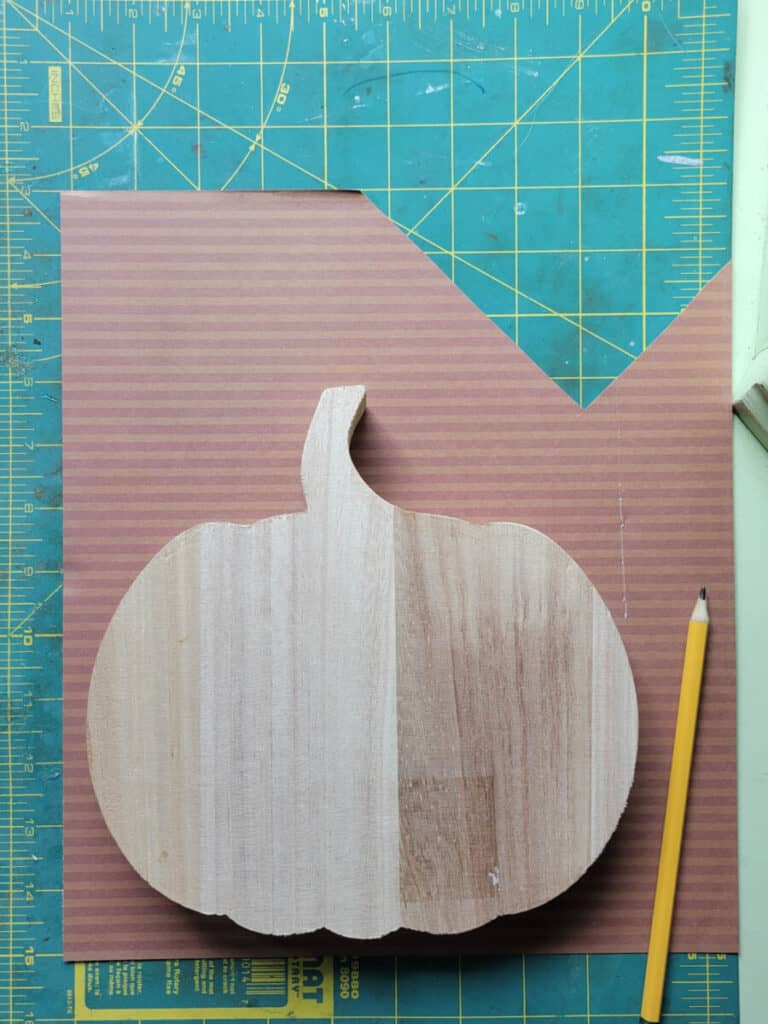
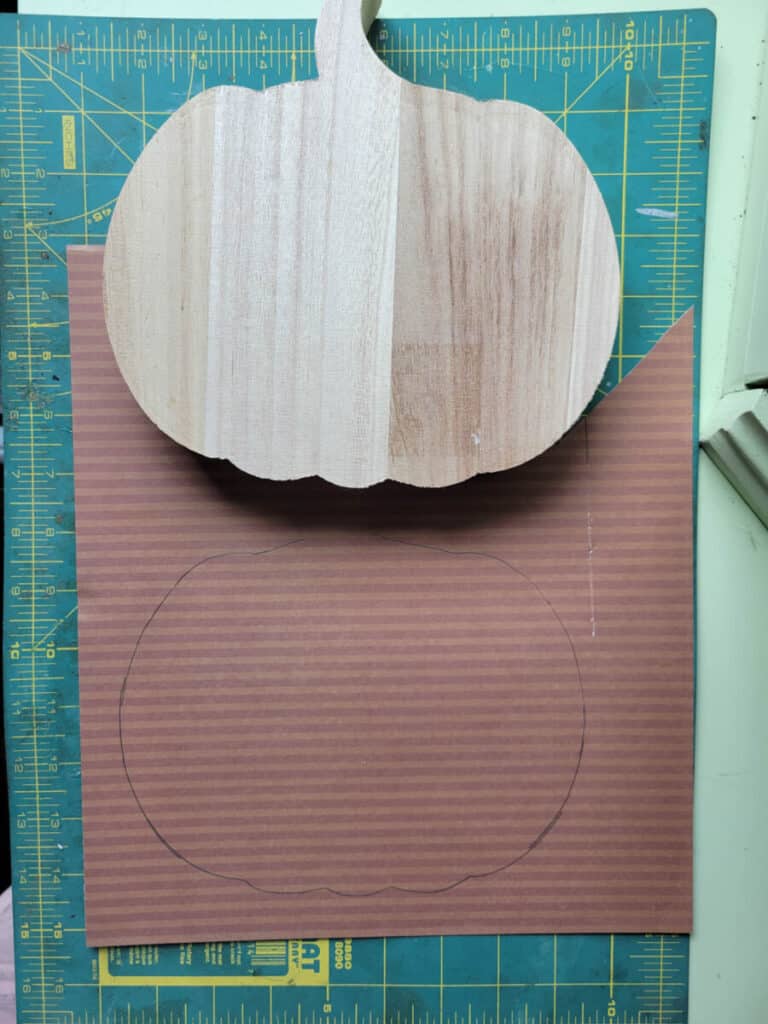
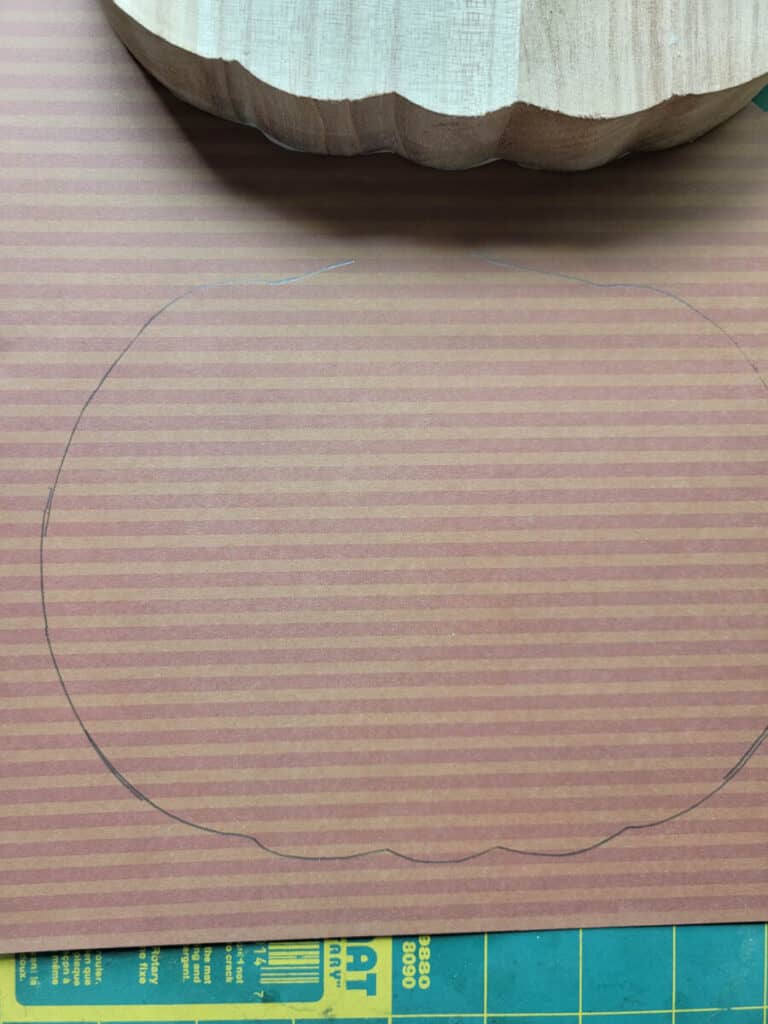
- With a pencil, draw an outline of your pumpkin shape. Lay wooden pumpkin face down on scrapbook paper that is right side down so you’re drawing on the back of the paper.
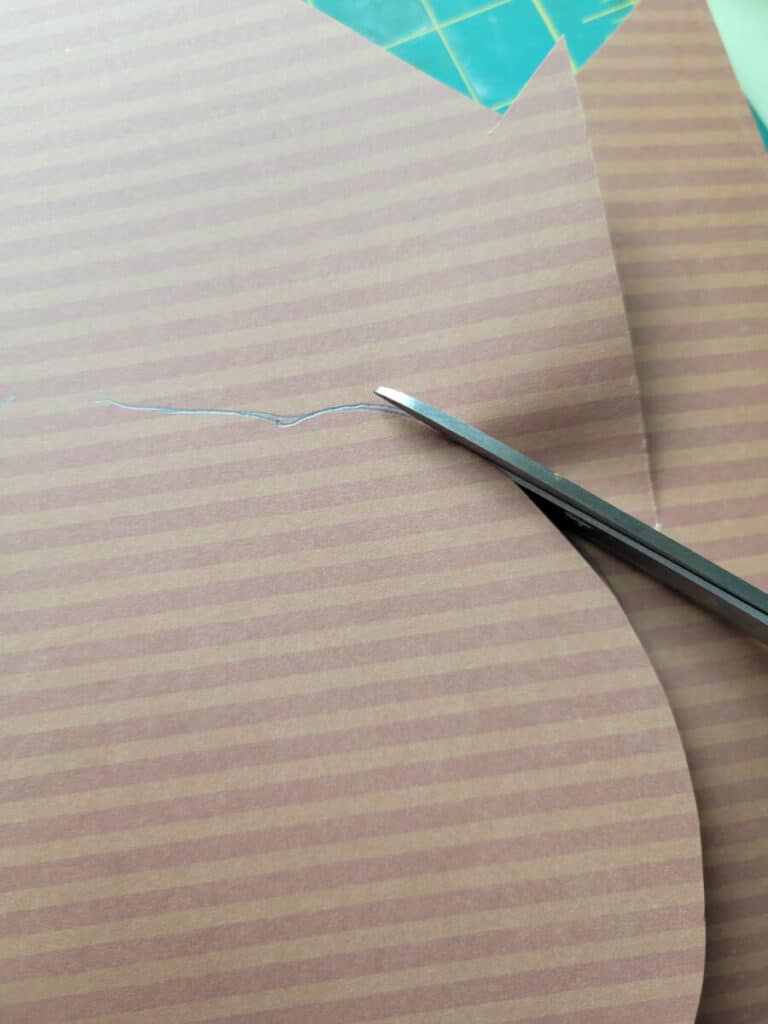
- Using paper scissors, cut the shape out. You’ll want to cut just inside the line or your paper will overhang the wooden pumpkin.
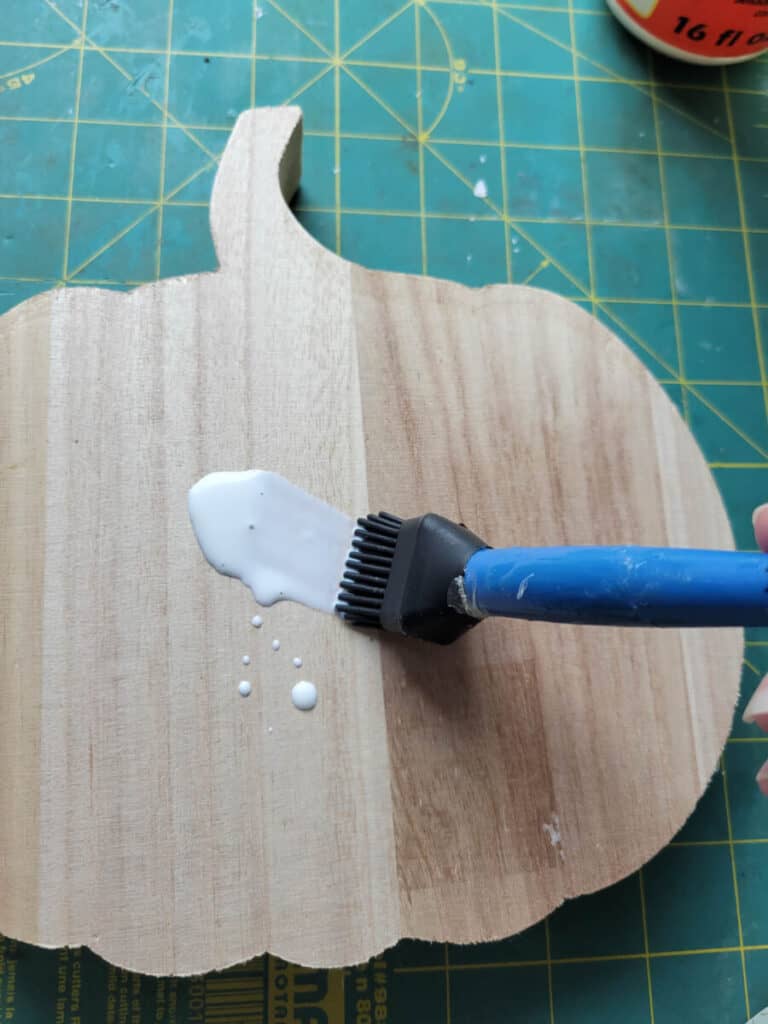
- Apply a thin layer of glue to both the backside of the paper and the wooden shape.
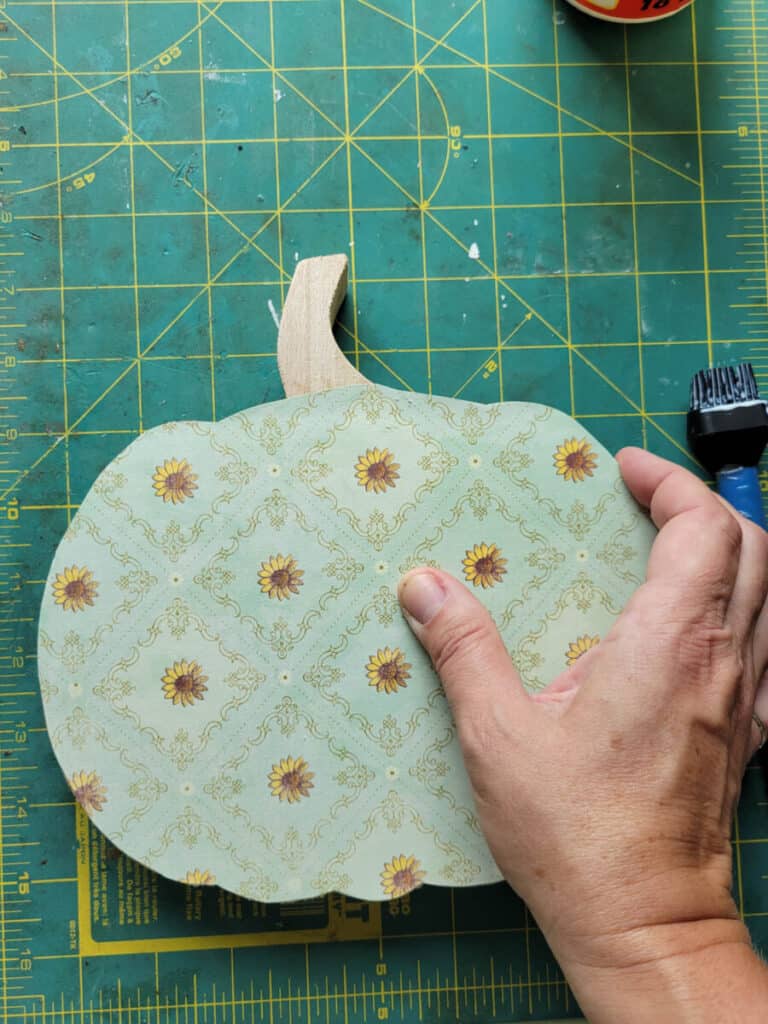
- Run the paper down from the center to the edge to remove air bubbles.
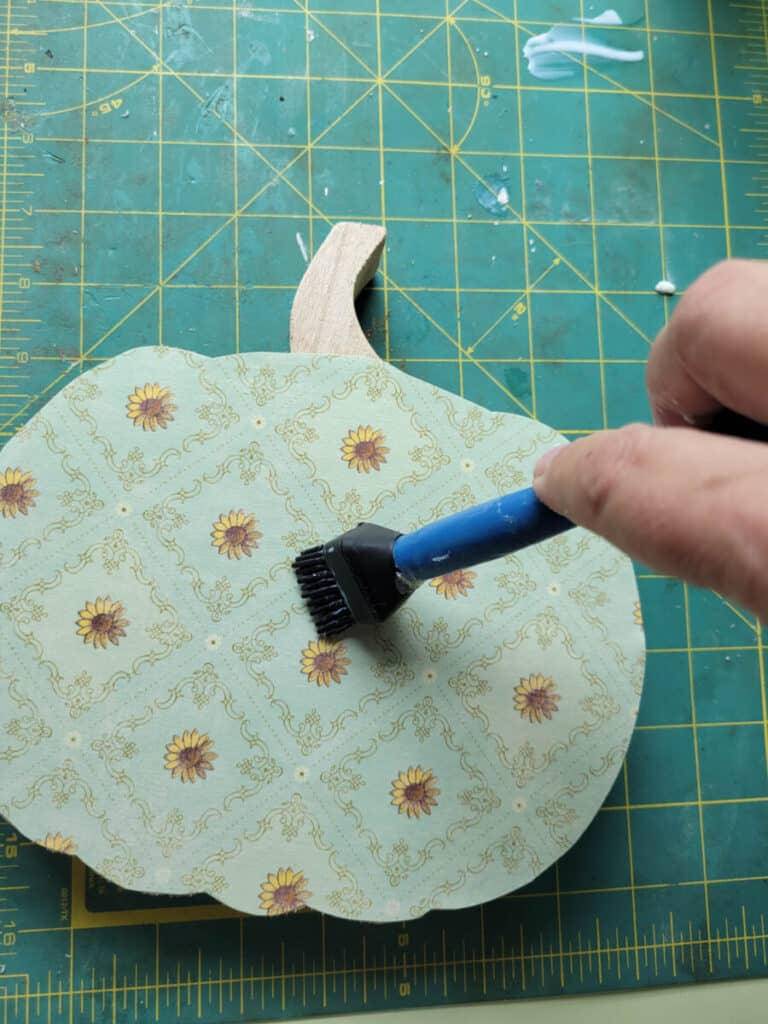
- Apply a thin layer of glue to the front side of the paper.
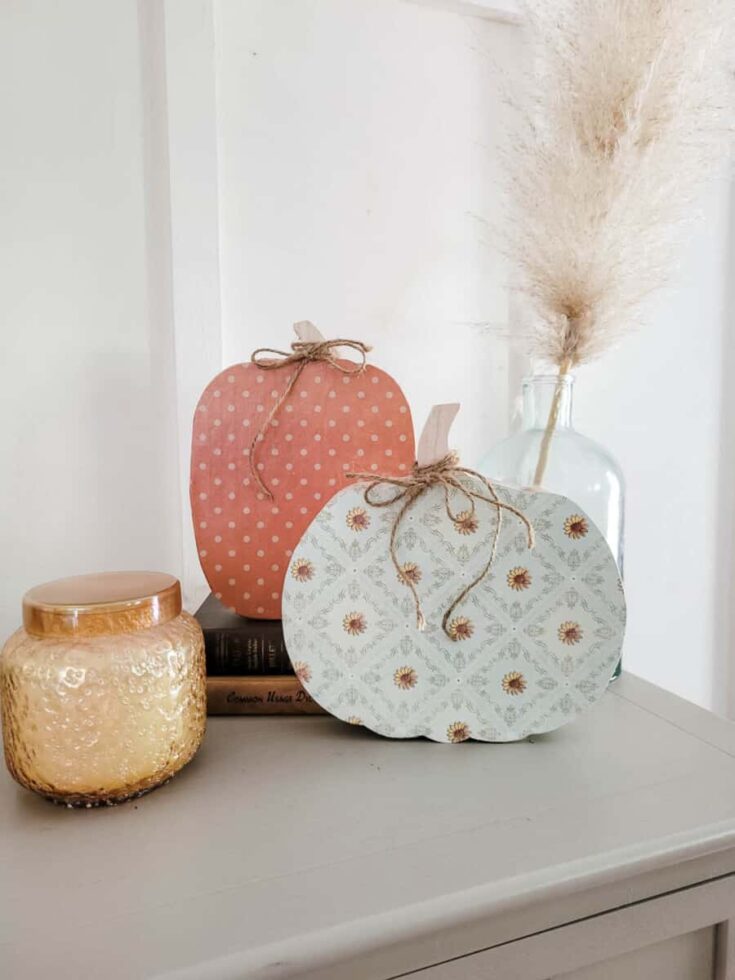
- Paint pumpkin stem (optional)
- Tie ribbon around stem.
Other Wooden Pumpkin Craft Designs
Since I don’t do much Halloween decorating, I used fall scrapbook paper for my pumpkins. You could use more holiday specific paper like this Halloween paper or this Thanksgiving paper.
Wooden Pumpkin Craft
Instructions
1. With a pencil, draw an outline of your pumpkin shape. Lay wooden pumpkin face down on scrapbook paper that is right side down so you're drawing on the back of the paper.
2. Using paper scissors, cut the shape out. You'll want to cut just inside the line or your paper will overhang the wooden pumpkin.
3. Apply a thin layer of glue to both the backside of the paper and the wooden shape.
4. Run the paper down from the center to the edge to remove air bubbles.
5. Apply a thin layer of glue to the front side of the paper.
6. Paint pumpkin stem (optional)
7. Tie ribbon around stem.
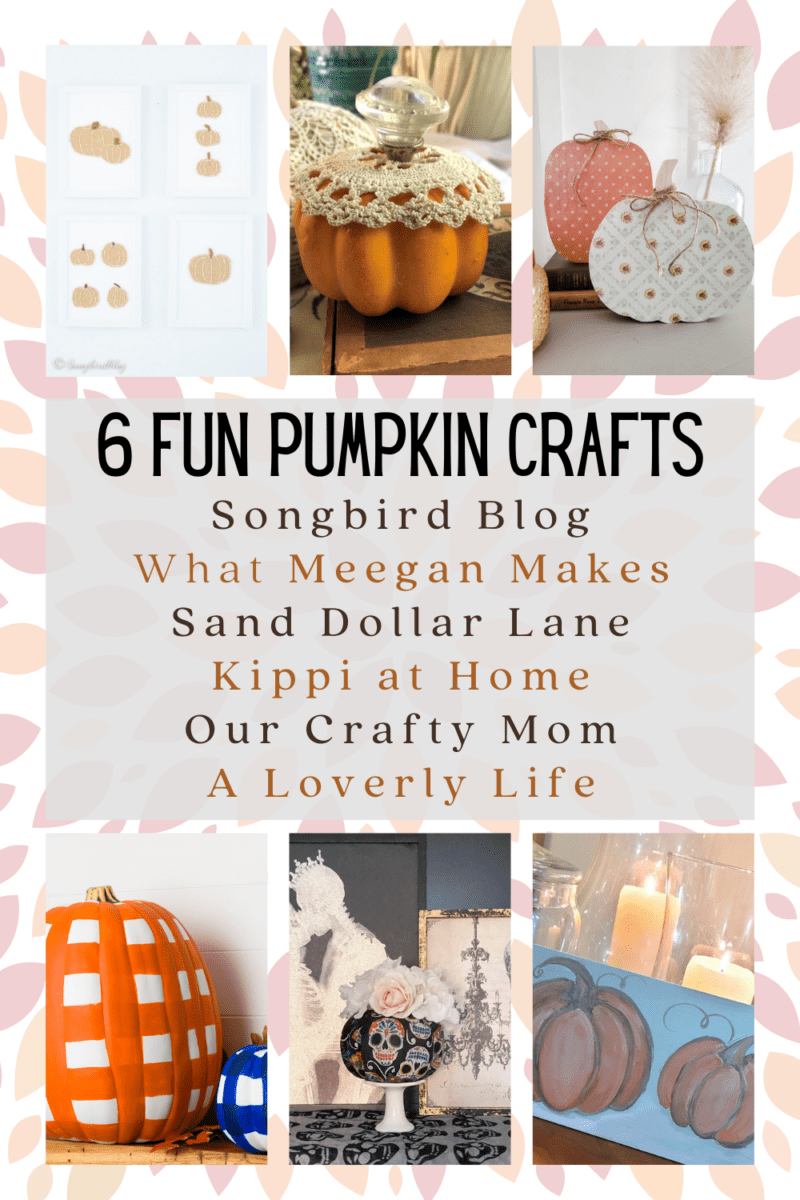
More Pumpkin Craft Ideas
Some friends are also sharing pumpkin craft ideas today!
Be sure to visit each for some amazing pumpkin craft inspiration.
Marianne from Songbird Blog is showing her
Pumpkin Wall Art
Meegan from What Meegan Makes is sharing how to
Decorate Pumpkins with Vintage Doilies
Leen from Sand Dollar Lane is showing
How to Decorate Wooden Pumpkins
Kippi from Kippi at Home has a tutorial on
Buffalo Check Pumpkins.
Michelle from Our Crafty Mom is showing us her
Day of the Dead Pumpkin.
Juliet from A Loverly Life is sharing a tutorial on
How to Paint Pumpkins on Wood.
Join me on Pinterest Facebook and Instagram for more autumn decorating ideas!

Your easy wooden pumpkin craft is so lovely! The patterns and styles are limitless! These would be the perfect hostess gift for both Halloween and Thanksgiving. Thanks for sharing your creativity. And for hosting this creative pumpkin blog hop. Have a great weekend.
Your pumpkins look lovely! I love the paper designs, so pretty.