
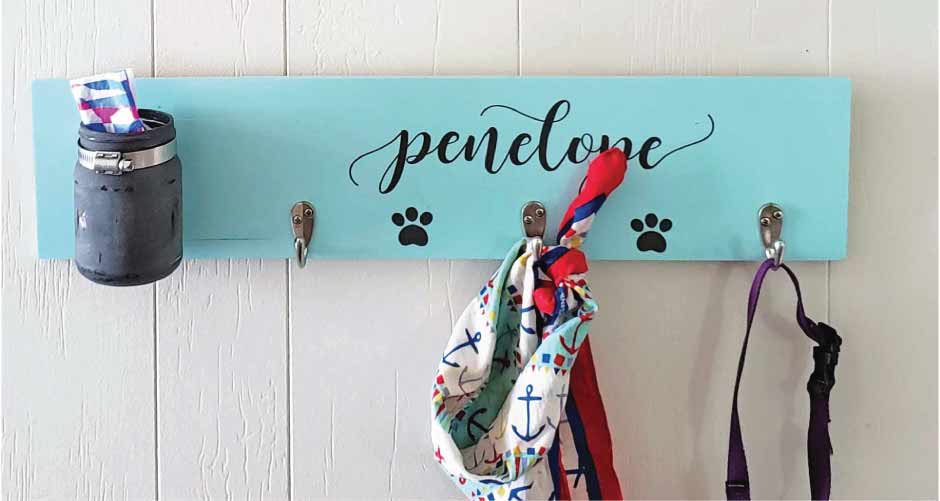
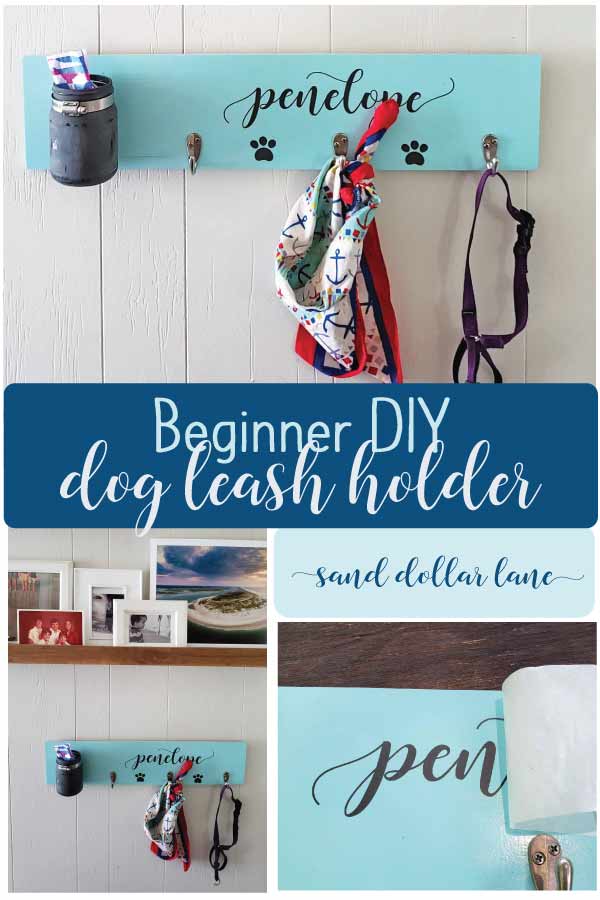
DIY Leash Holder
Looking for a beginner DIY project? This DIY leash holder is easy and fun!
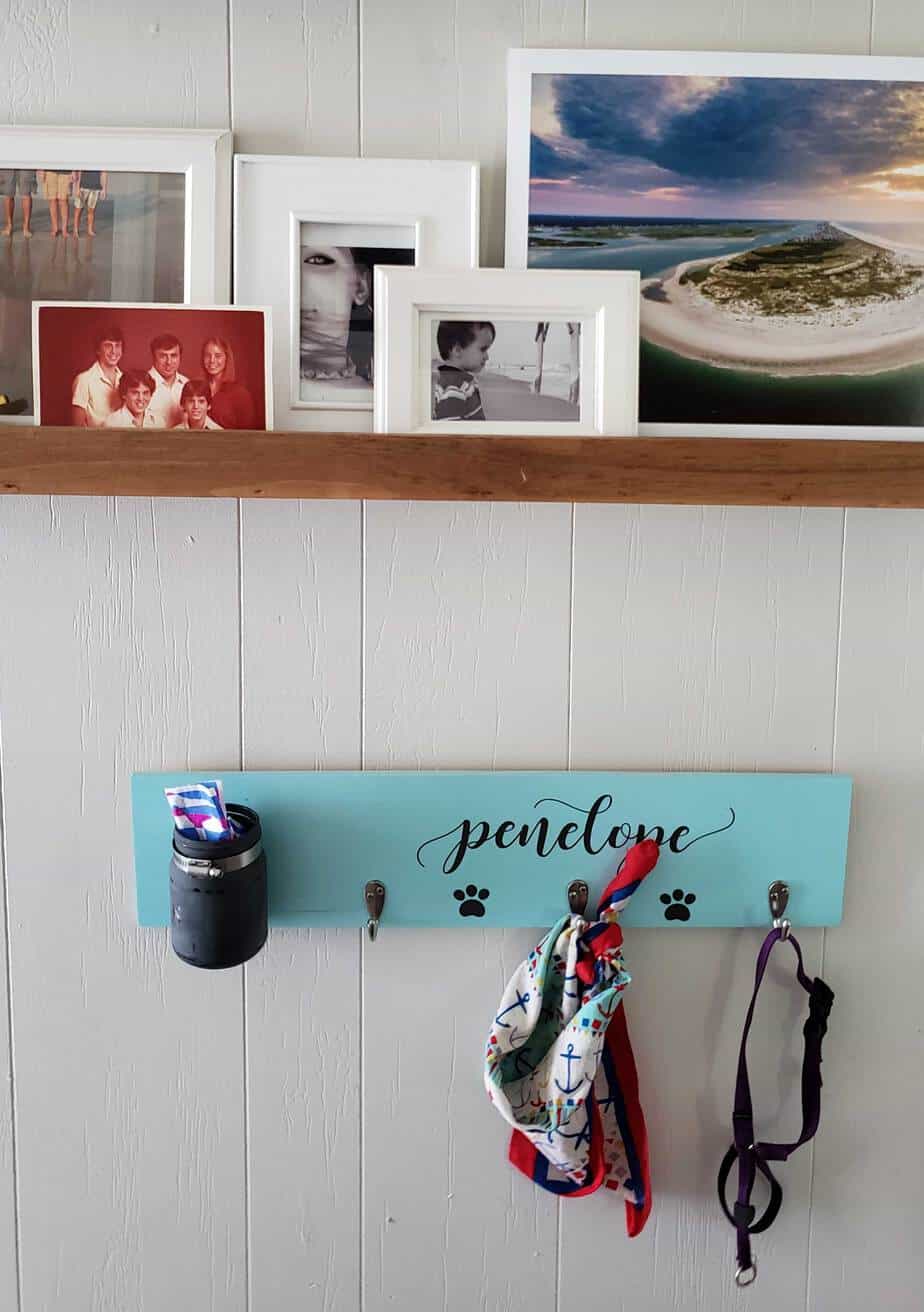
We needed a little something to go under our photo ledges in the mudroom and this leash holder was just the thing! You can see the rest of our mudroom refresh here.
This project is part of the Monthly DIY Challenge we’re part of. This month’s project theme was multi-media and had to include wood and at least one other material. Be sure to check out all the other projects at the end of this post! This project challenge group is so talented! You’re going to love their amazing projects!
For your convenience, this post contains affiliate links. See my full disclosure page here
DIY Leash Holder Items Needed
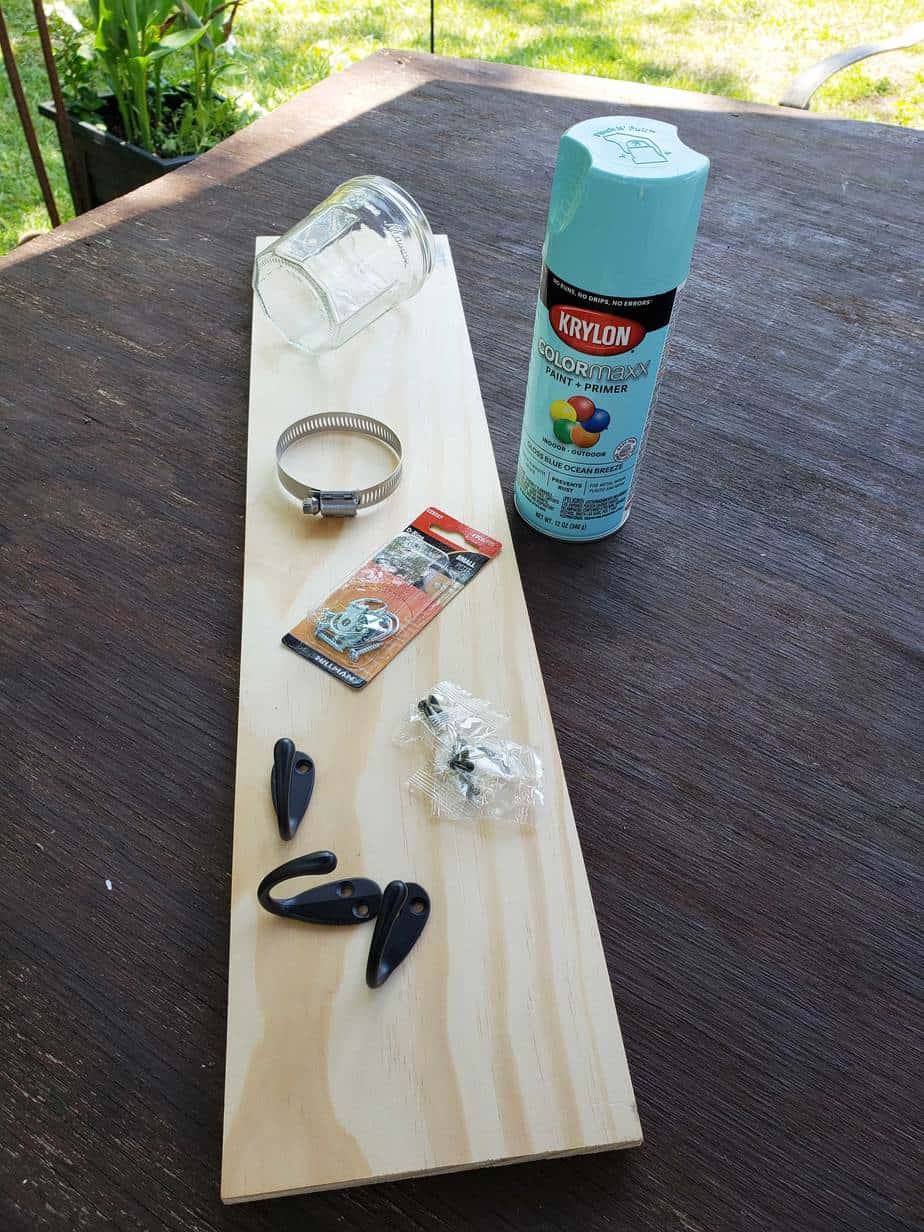
Wooden board– you can cut this yourself or purchase a precut board. My board is 5.5″ x 24″ and cost $3.09 at Lowe’s. I thought it was worth it to not have to get the saw out!
Hooks– these come in silver or oil rubbed bronze. I had originally planned on using the ORB ones but decided I liked the silver better.
Paint– Again, I was feeling lazy so I just used spray paint that I already had.
Jar– I was going to use the clear one in the photo but my hose clamp didn’t fit it so I grabbed this painted one from my desk.
Hose Clamp– Make sure it fits around the jar you plan to use!
Name decal– having a sign/wall decal business comes in handy for projects like this! If you don’t have a sign business or a decal maker, you can purchase a set of decals from our sister site Leen the Graphics Queen HERE
Leash Holder Instructions
I always start with painting the board. While the paint is drying I gather the rest of my supplies.
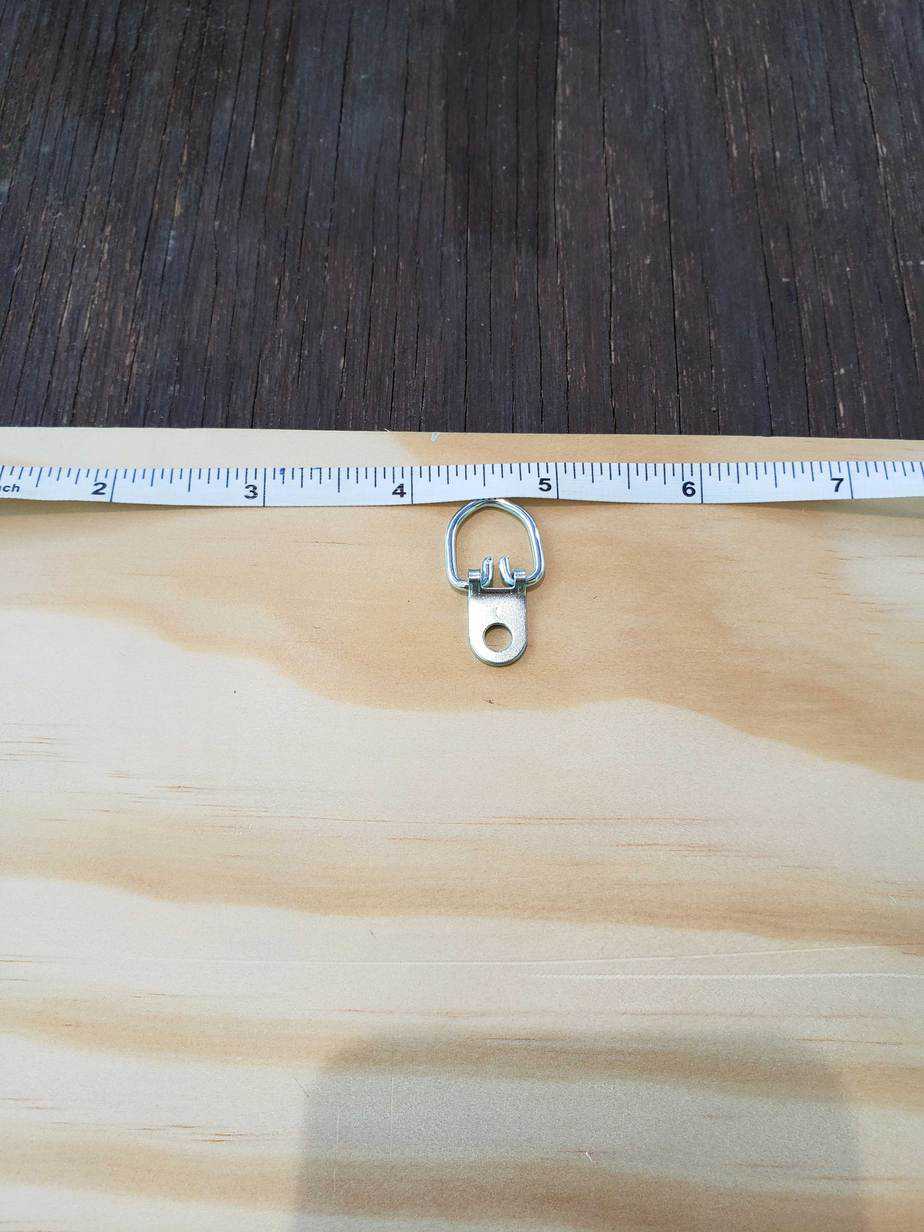
After your paint has dried, it’s time to adhere the hooks and clamp. I like to put the d-rings on the back first because once the hooks are on the front, it’s difficult to lay the board flat.
Once your d-rings are mounted on the back, figure out the layout of your hooks, jar and decal.
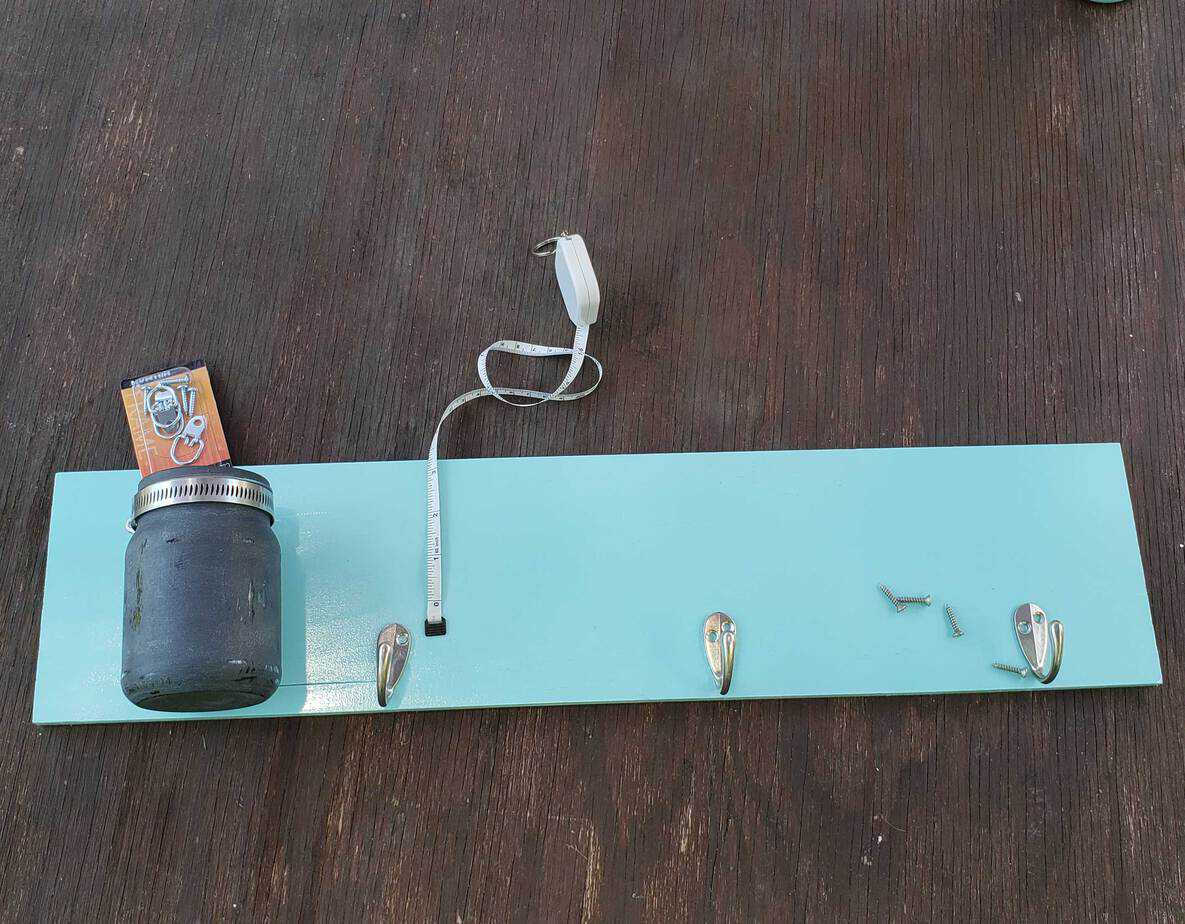
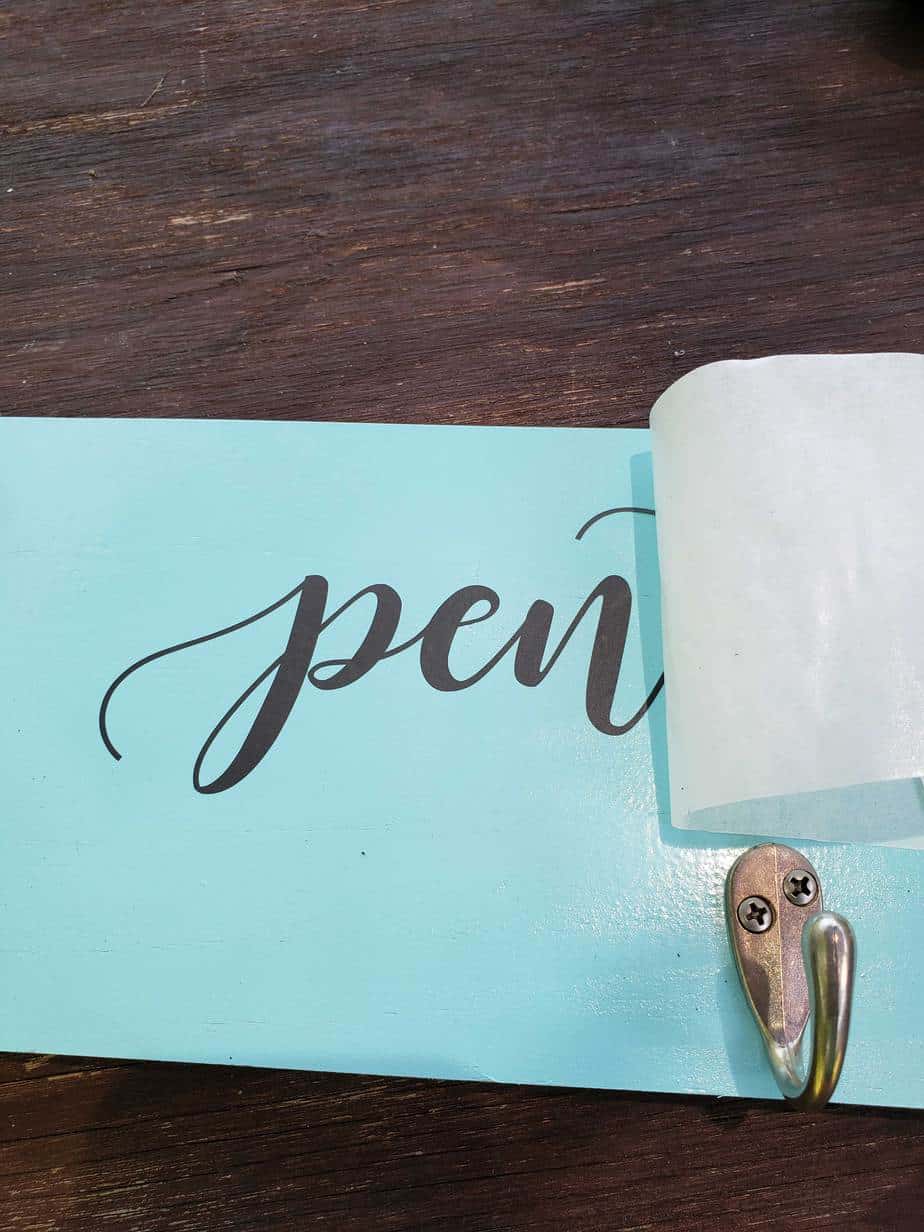
Screw the hooks and hose clamp to the board then adhere the decal. You can find decal application instructions here.
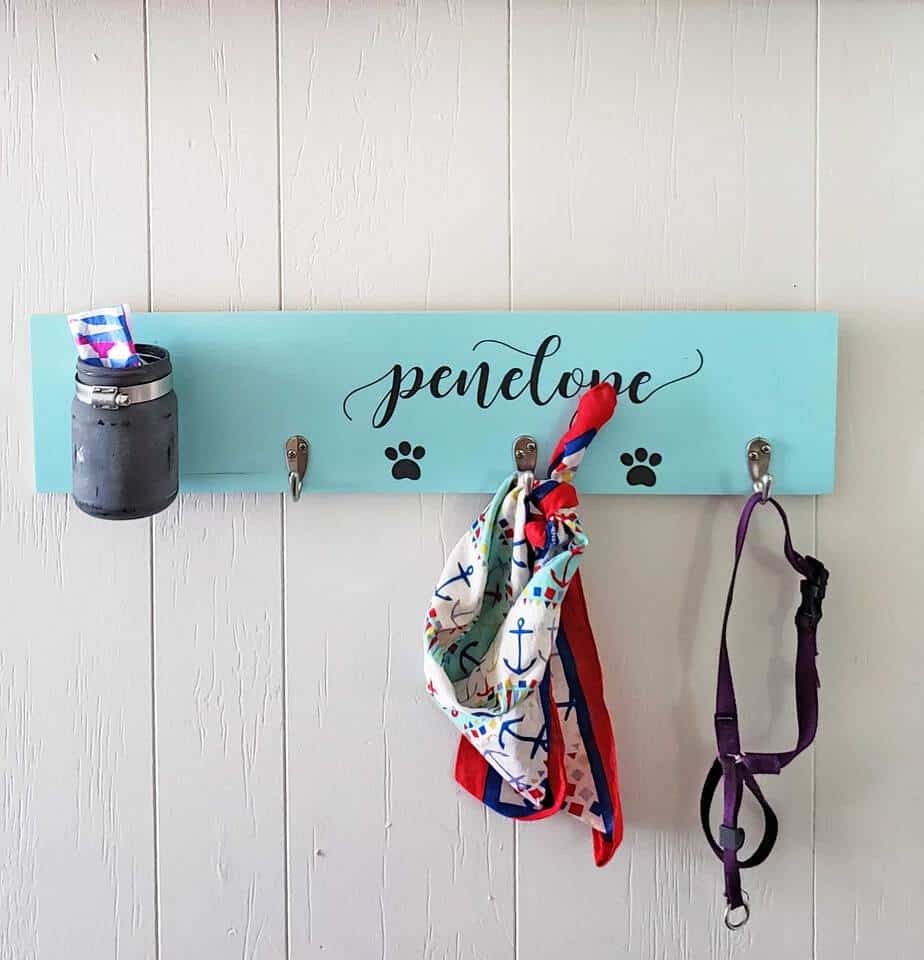
Then you’re ready to hang your new DIY leash holder! I had planned on putting treats in the jar but since the holder is hung pretty low, Penny realized she could get into them. I put her bags in there instead. She’s not that impressed!
Enjoy the rest of this month’s DIY Challenge Projects!
Poster Frame for Vintage Prints
Such a great idea and so useful!
This really is a great and simple DIY project for all! Thanks for sharing!
Super cute and easy diy!