
DIY outdoor privacy screen with planter

This brief tutorial will show you how we added privacy to our back deck with a DIY outdoor privacy screen planter. 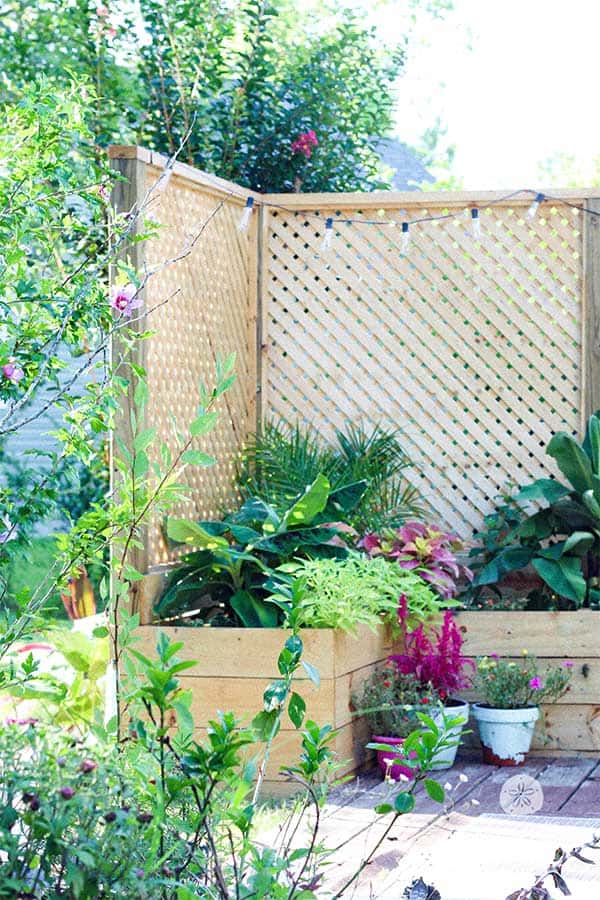
In this post we’ll show you how we built a DIY outdoor privacy screen planter that has changed our world! Seriously! We are enjoying our back deck so much more since we built this outdoor privacy screen! For more outdoor space ideas, click here!
Why Build a Privacy Screen?
We live in a very quiet but quickly growing neighborhood. Over the last five years we’ve had about 15 new homes built here. One of those homes happens to be behind our house. Like 10 feet from our property line. While our new neighbor seems like a very nice lady we had gotten used to seeing trees, birds and an occasional deer from our back deck so her house is kinda, well… not trees. or deer.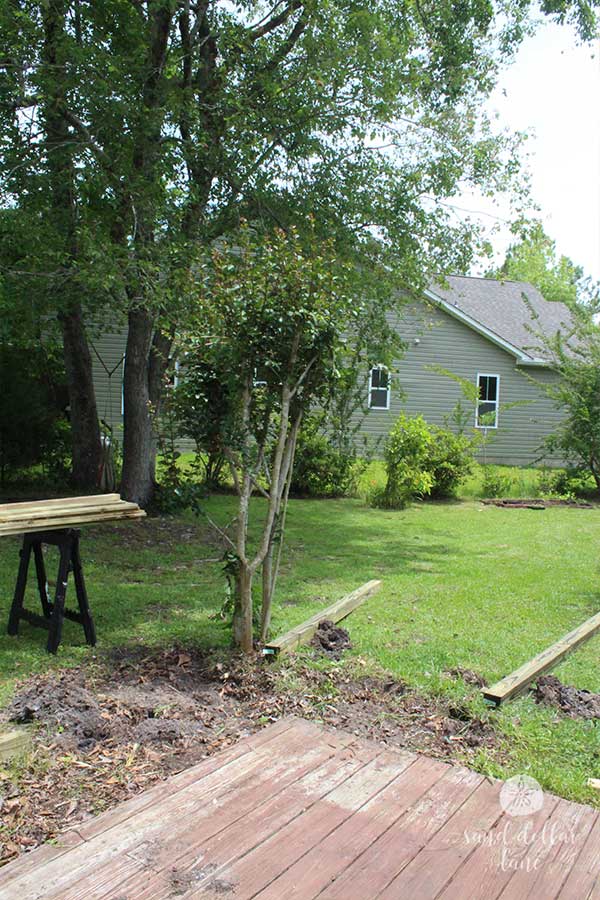 We really enjoy using our back deck and wanted to find a way we could use it without staring at the neighbors house.
A privacy screen along the edge of the deck was the perfect solution! If you are also needing some backyard privacy, read on to learn how we built our outdoor privacy screen planter!
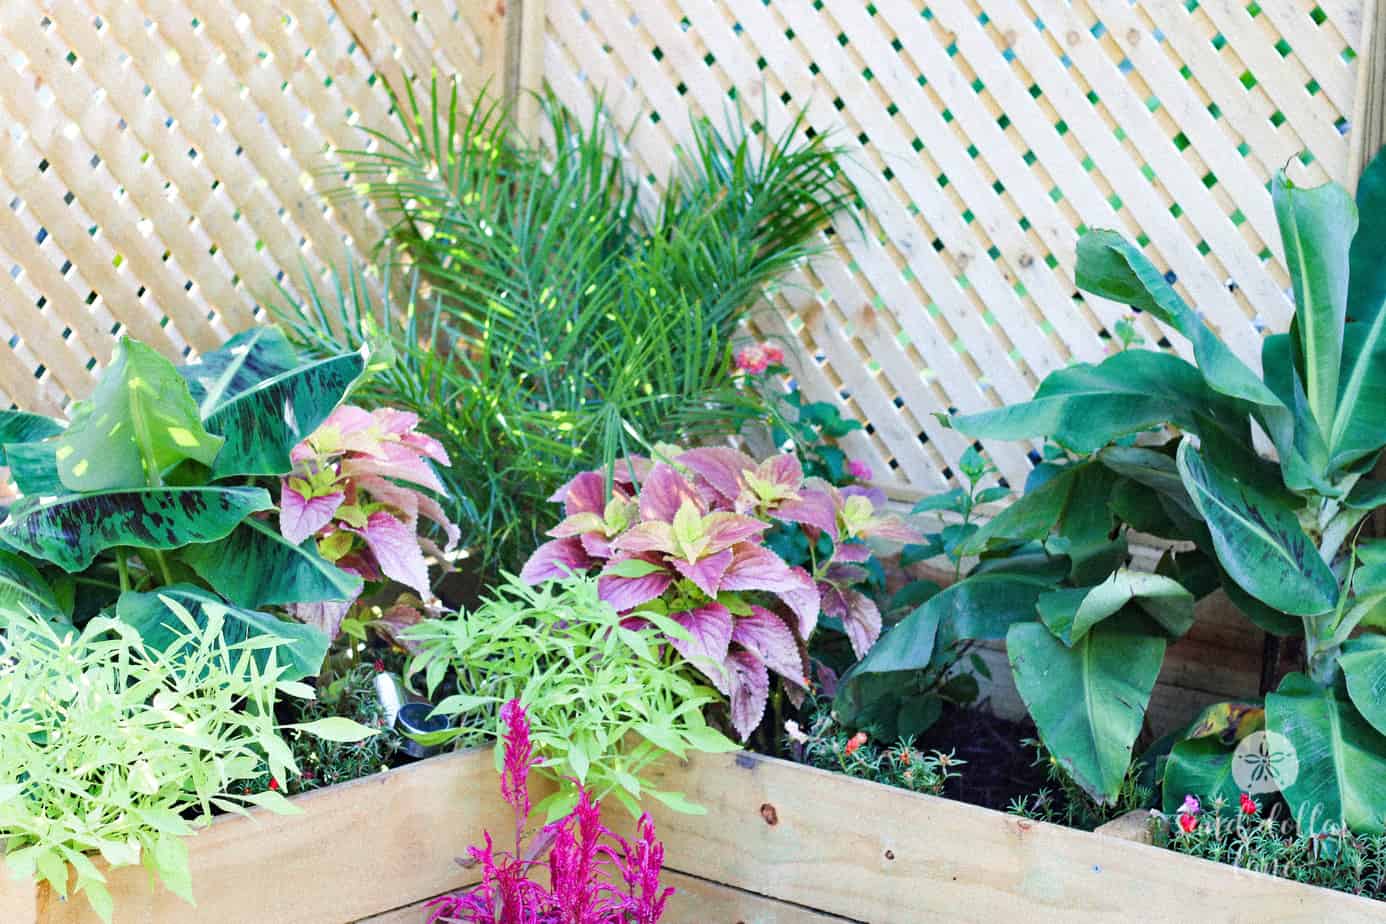
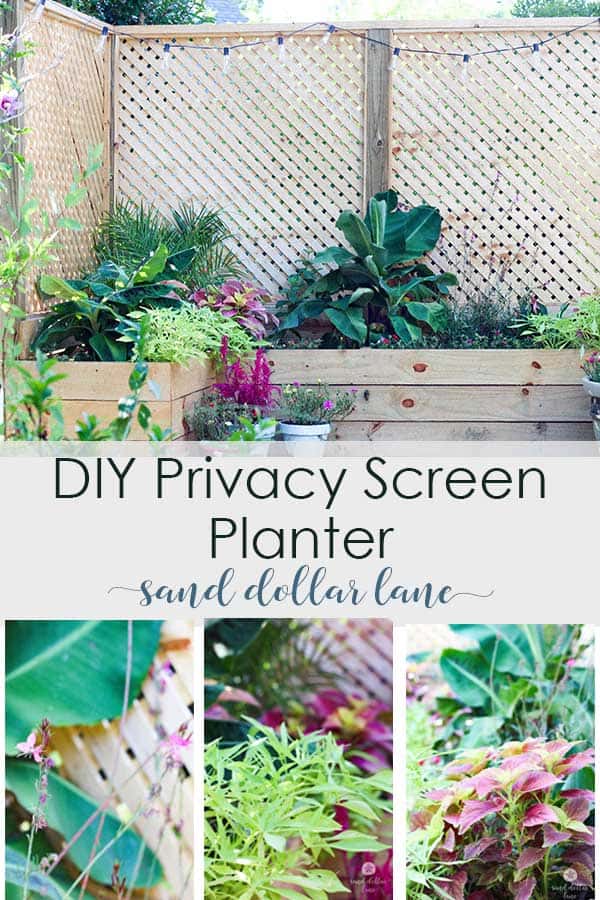
We used the lattice with smaller holes for added privacy and built a planter box to soften it up a bit. We’re so glad to be using our back deck again!
How to Build a DIY Outdoor Privacy Screen
For your convenience, this post contains affiliate links (which means if you make a purchase after clicking a link I will earn a small commission but it won’t cost you a penny more). See my full disclosure page here
Supplies
- Four pressure treated 4x4x8 posts
- Two 4×8 pressure treated lattice (we really liked the small holes)
- Five 2x4x8 pressure treated boards for top and framing of front of planter
- Seventeen 1x6x8 planks (we are using fence picket’s) you can use deck planks if you want
- Lots of 2.5″ deck screws
- Two bags cement mix or stones for the post holes
- Lots of plants and soil
Tools
- Post hole digger or shovel
- 24″ level
- Screw driver (power)
- Hammer
- Circular Saw
- Safety glasses
- Tape Measure
First we dug the holes for the 4 x 4 posts. Then framed out the lattice screen area. With a little help from Penny, (our dog) we spaced our posts 4′ apart and 18″ back from the deck for space for the planter.
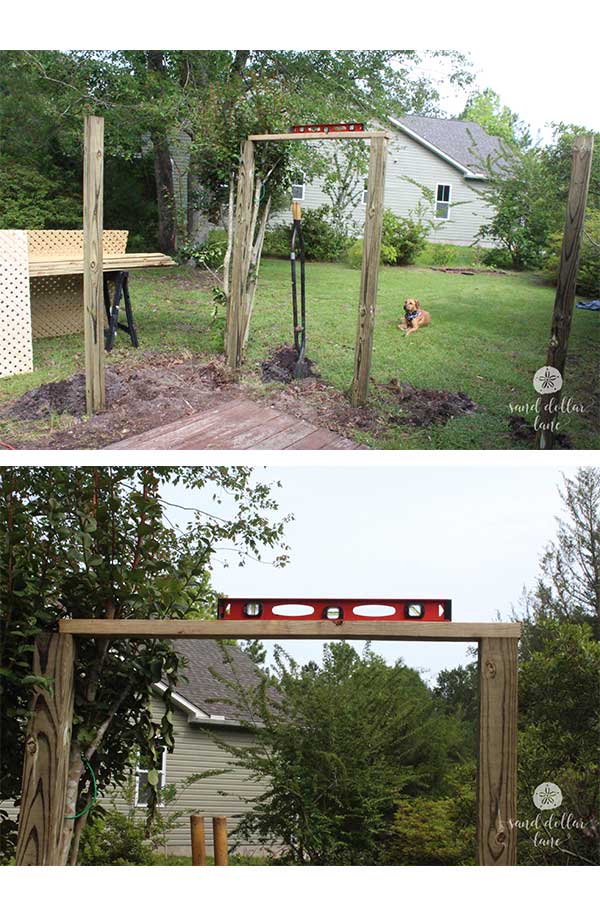
 Then we put some rocks in the post holes to hold structure steady while framing. After the privacy screen frame was in place, we added planks to the bottom of the screen part/back of the planter. Then we framed out the front of the planter.
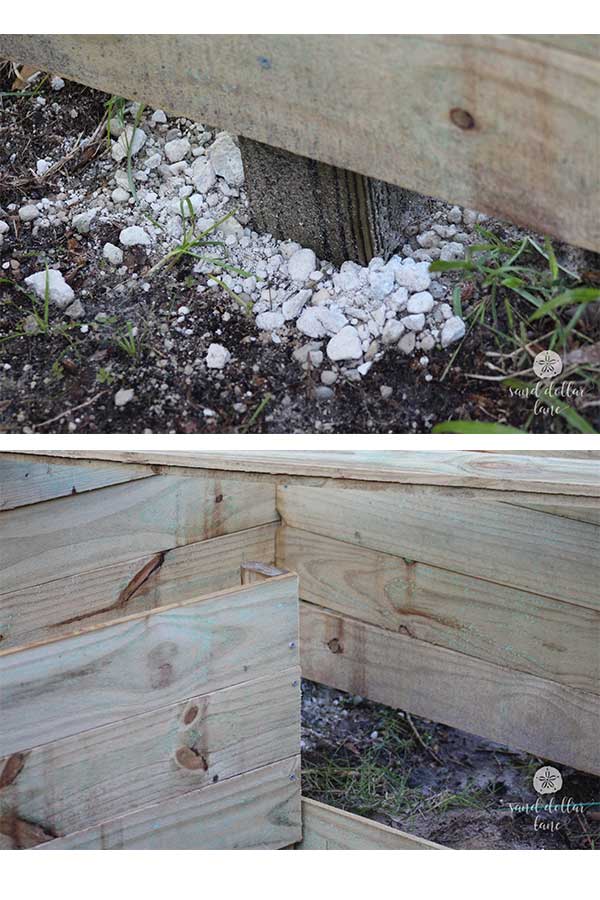
If you start planking at the top you can rip the bottom plank of the planter to size.
 Building the Privacy Screen

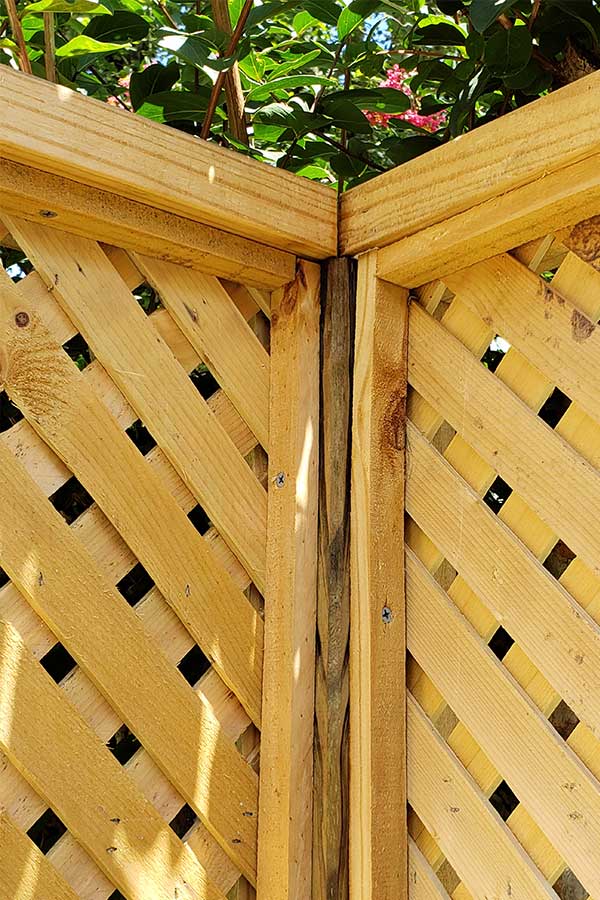
After the planter was built we moved on to installing the lattice screen. We ripped the fence pickets that we used for the planks into 1.5″ strips, installed the front piece about 1/4″ from the center of the post (all four sides), then held the lattice in place while we installed the back strip to the post so the lattice was sandwiched between the two strips.
We’ll stain the screen and planter in the Fall after the pressure treated lumber has had a chance to dry.
Then came my favorite part, filling the planter with plants and flowers! Next week we’ll chat about the plants we used and why we chose them.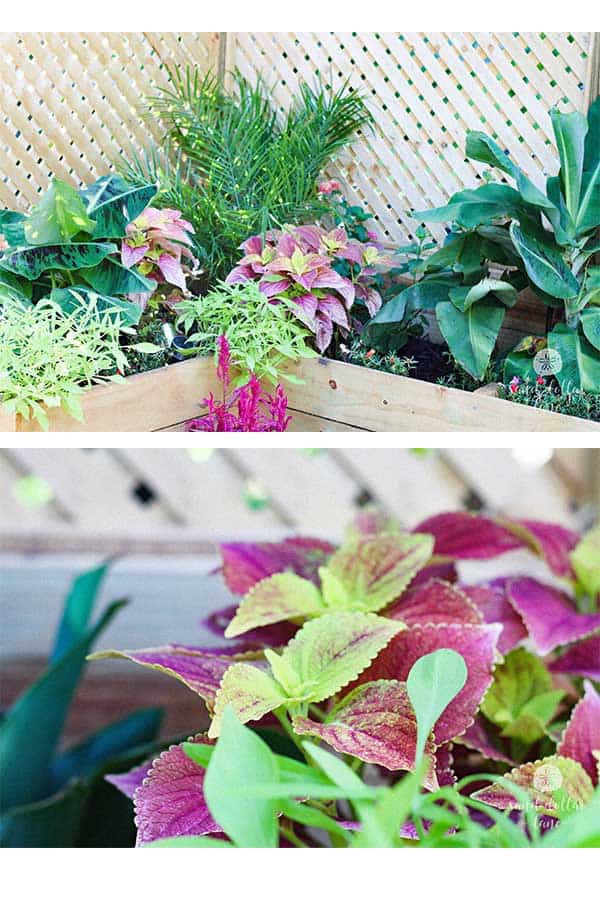 We really are enjoying our back deck again. This outdoor privacy screen with planter turned our back deck from a spot we avoided to one of our favorite places in our yard. Check out our summer home tour to see more of our yard and gardens.


2 Comments