
Master Bathroom Remodel
So, this is how it started~
Me~ “Babe, there’s water on the floor in the master bath”
JC~ “I’ll need to replace the seal this weekend”
Me~ “Will that involve removing the toilet?”
JC~ “Yes, but it’s an easy $5 one hour project” (this is the part where I snicker to myself “that’s what you think!”)
Me~ “Well, since you have to remove the toilet we may as well redo the floor while you are at it.”
JC~ “Well….ok”
Me~ “Will you have to take out the vanity cabinet to do the floor?”
JC~ “Yes, why?”
Me~ “We may as well replace that too while you’re at it.”
JC~ silence (he knows when he’s been tricked!)
Of course, it continued…“we may as well paint the walls while you have the floor out”…”we may as well replace the mirror and fixtures since we’ll be painting”…and on and on.

So our easy one hour $5 fix turned into a two and a half month, over $300 project (we already had a few of the major pieces). We (read James) took everything except the shower out. Our four year old, Eli walked in one day while James was painting the empty room and said “Dad, this is quite a situation!”

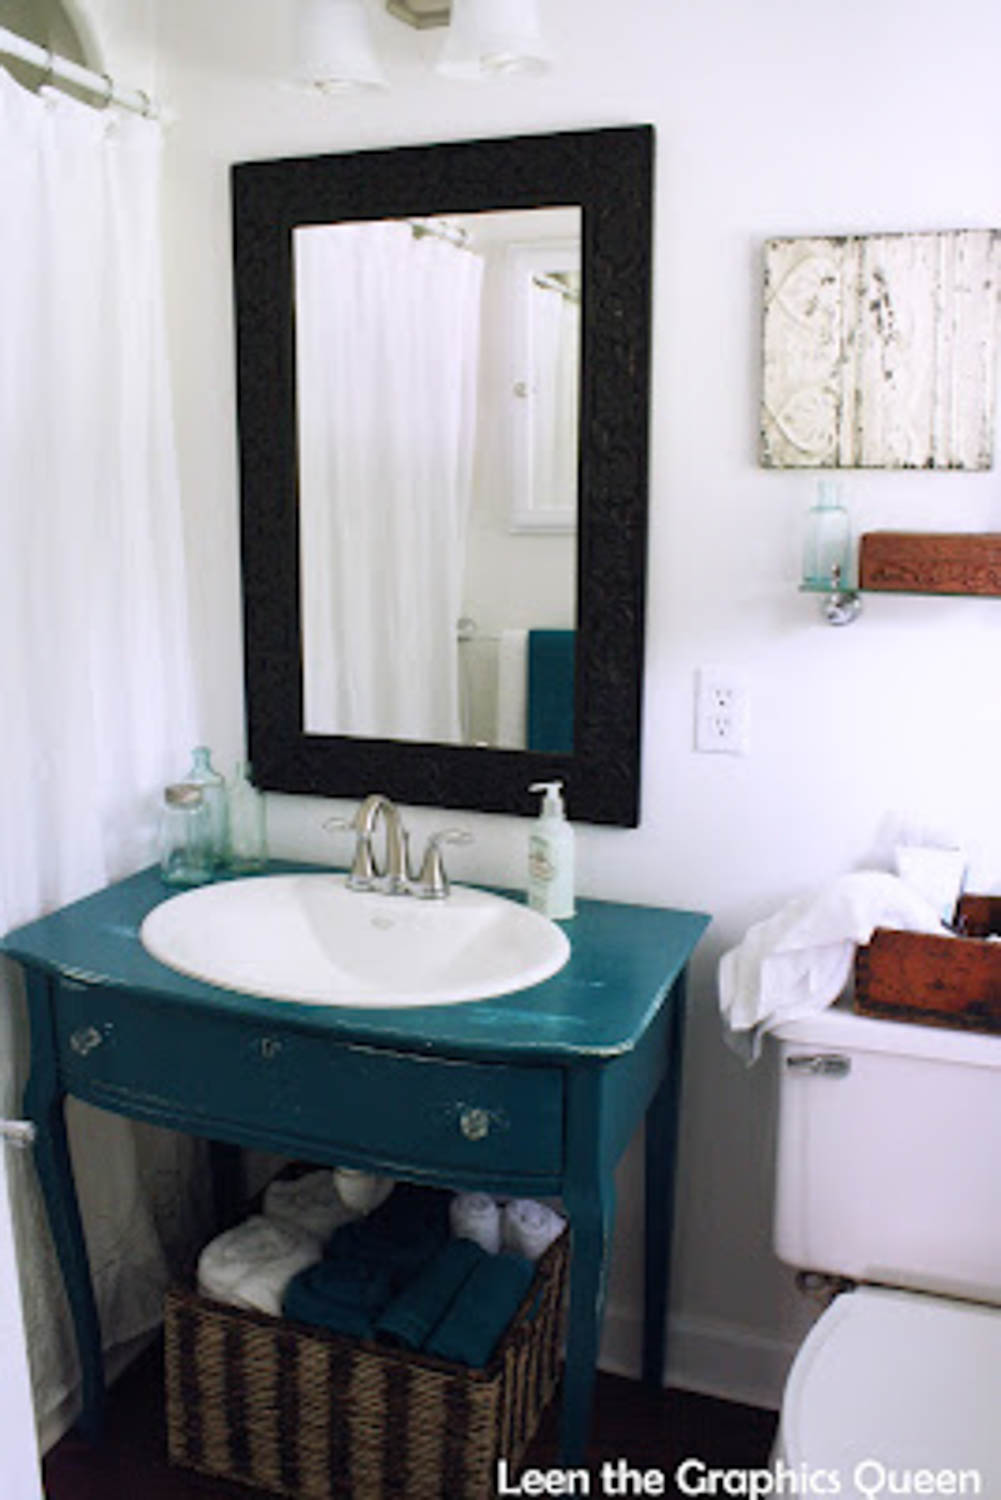
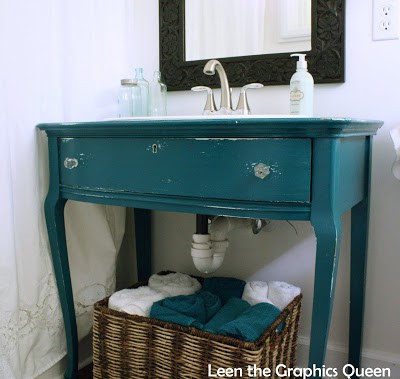
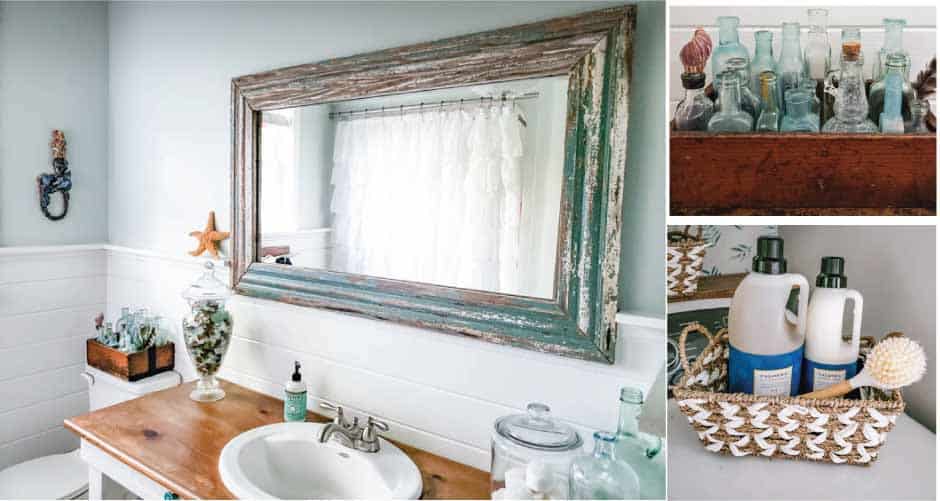
After we selected the flooring (we went with the same dark laminate that we have in the Mudroom) we started the search for the perfect vanity. We knew we wanted the look of an old table like Kevin and Layla have in their guest bath
but were having some trouble finding something that would fit our tiny space. Then in the middle of Home Depot while looking for fixtures I realized that with some love the little blue desk in the living room would be perfect!

I’ve painted a lot of furniture in my day but I was a bit apprehensive about this one. I knew what color I wanted it (Gypsy Teal) but wasn’t sure if I wanted to distress it or how to seal it. For the answers to my questions I turned to the furniture fixer Shaunna, of course! I bought her ebook and it was TONS of help!

Since it’s such a small room with a big pop of color we kept things simple. We used glass knobs for the shower curtain rings, the curtain hanger and the small drawer of the vanity.


I tend to go for Oil Rubbed Bronze fixtures but with the floor and mirror being so dark we opted for chrome instead. I think that and the use of glass jars really helps keep it bright in there.


It wasn’t until a couple days after we finished that I realized the carved wooden mirror that I bought at an auction (PB has a similar one) matches the box I swiped borrowed from my sister 20 years ago!

We kept our Battenburg Lace shower curtain and I made a matching curtain for the window. You can see how we made the curtain hanger out of salvaged tongue and groove panels here.
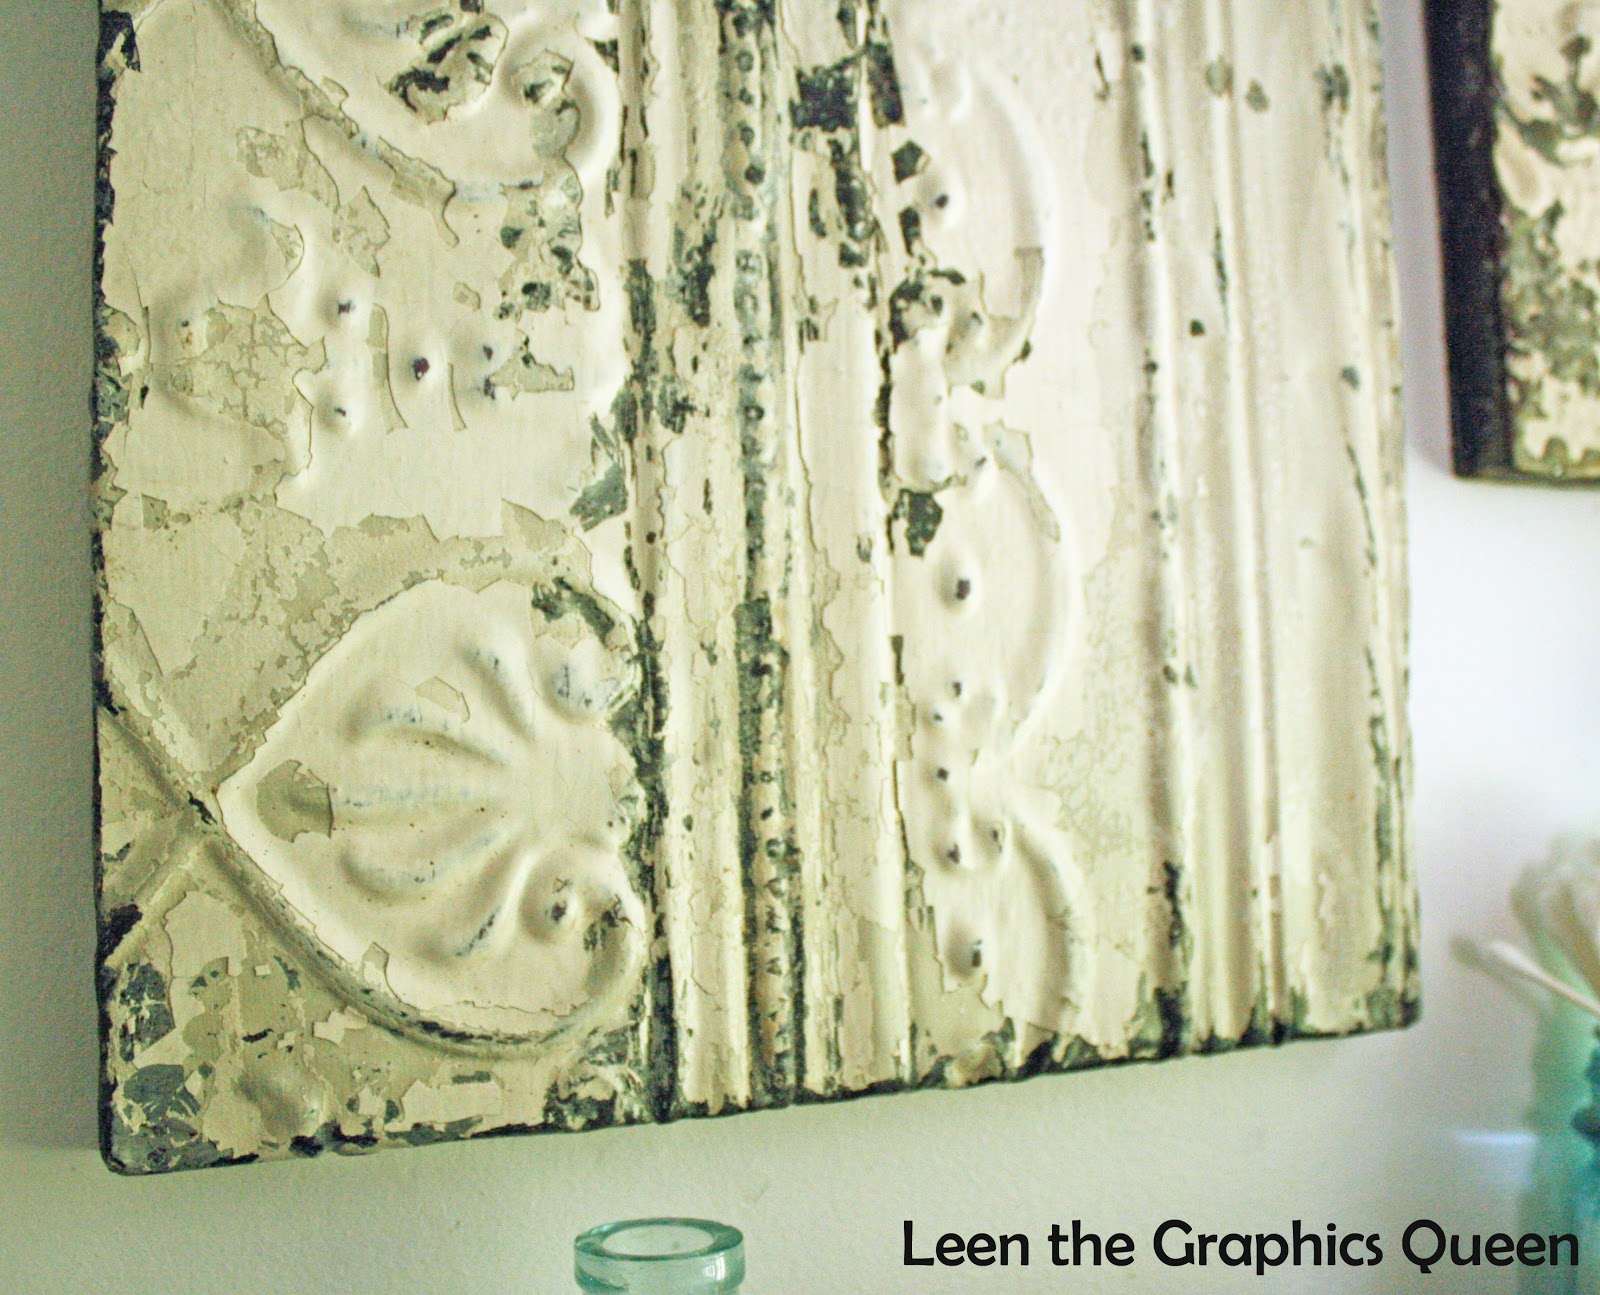
We tied the chippy salvaged boards and distressed vanity together by placing these plaques made from antique ceiling tiles on the wall between them.
 |
|||

On the wall opposite the vanity is a towel bar and new medicine cabinet.
Since there’s not much storage space I had to stash TP under the towels in the basket (pretty clever huh?)

So, that’s our master bath! I am ready to start the boys bathroom…almost!
Wow this turned out amazing . I Love it.